|
|
| Please select a language first: |
|
|
|
| Please select a language first: |
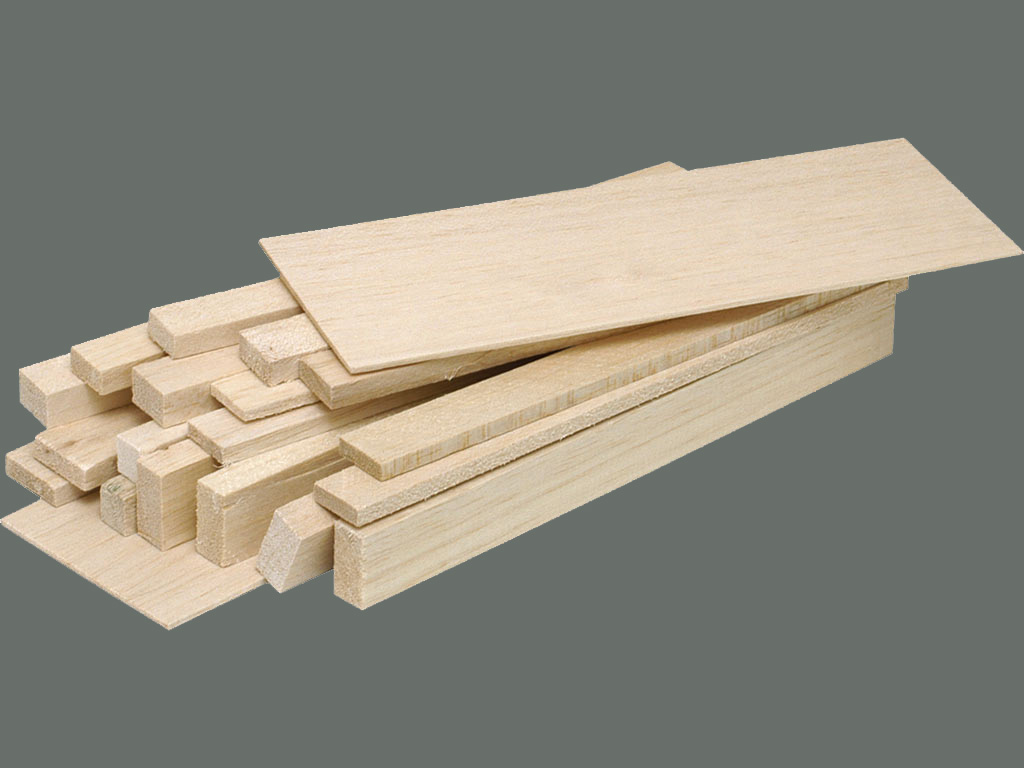 | Wood. Check your local supplier or online shops. You'll need some strips of at least 2x5mm and a board at least 2mm thick and 8cm wide. I used balsa wood for weight savings. |
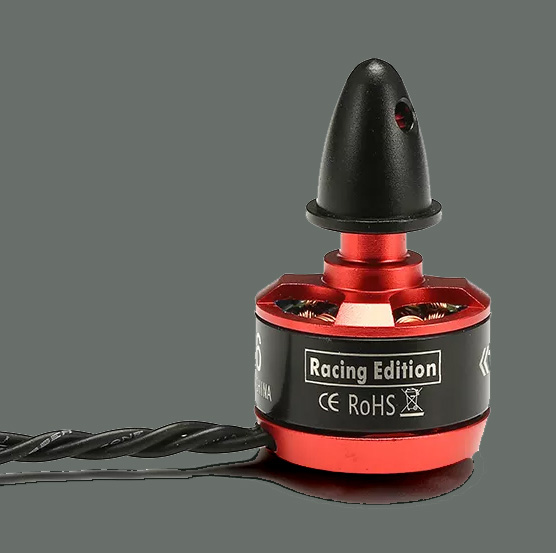 | Motors. 6 of them, like this: bangood.com Racestar motors But you can browse for different ones. Since we are building a drone with 4 inch props, you'll need something around 3-4000 kv and 5 to 15 grams of weight. |
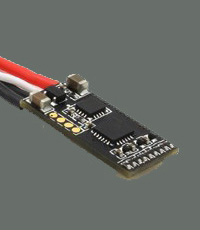 | Speed controllers. 6 of them, like this: bangood.com ESC But you can browse for different ones. Some that are light and can handle arround 3-6 amps. |
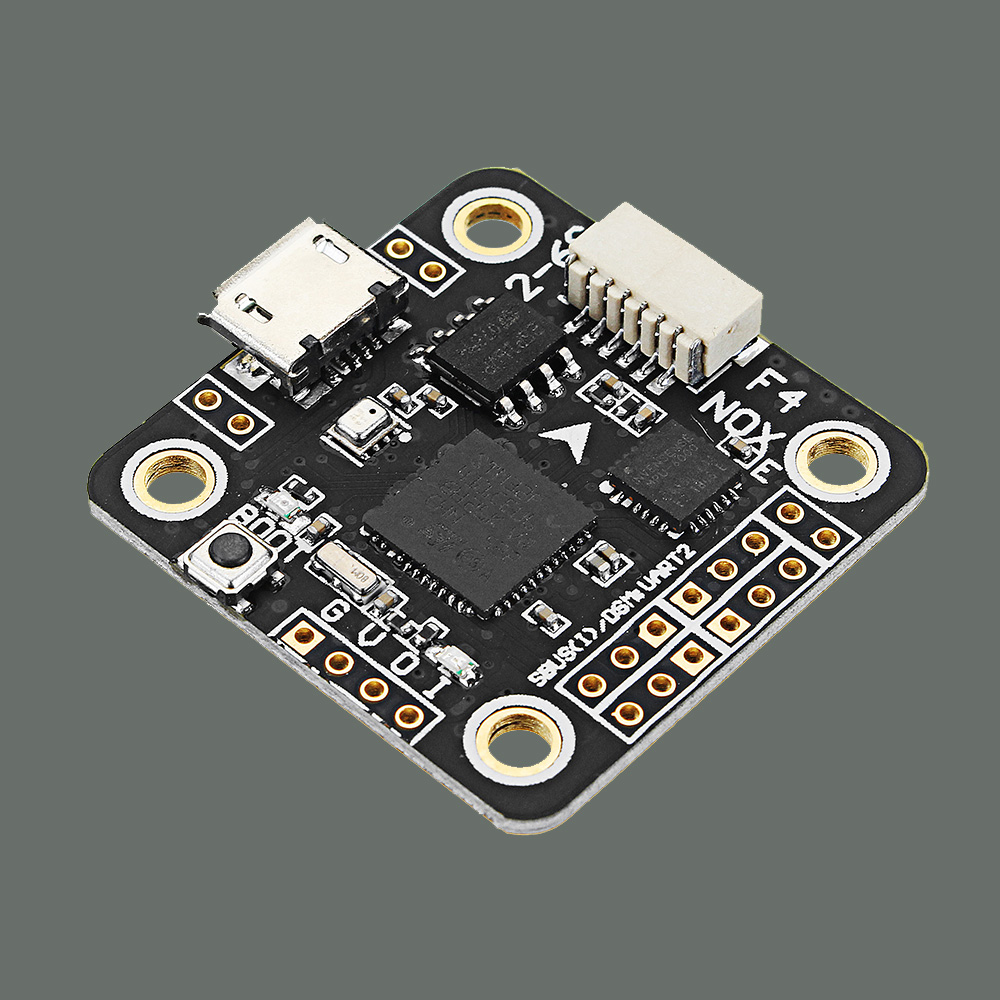 | Flight controller, like this one: bangood.com Flight controller Again, you can choose a different one, but it needs to have a barometer for altitude control and GPS capable. At least an F3 microprocessor. |
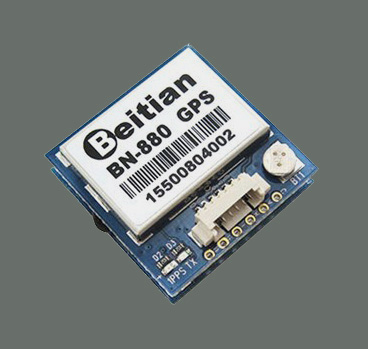 | GPS, like this one: bangood.com GPS Again, you can choose a different one, but it needs to have a magnetometer built in too, so that the drone can orient itself. |
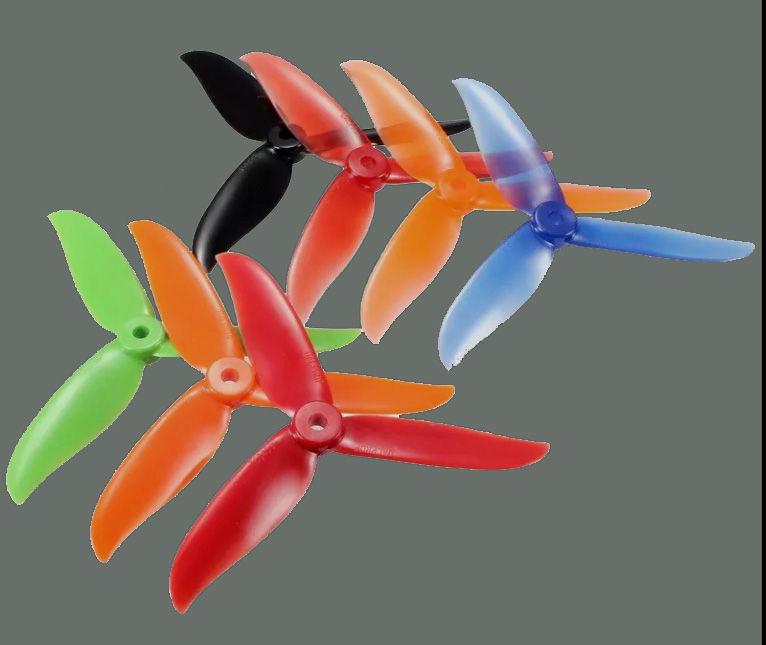 | 3 pairs of propellers, like these ones: bangood.com propellers Again, you can choose different ones, but it needs to be 4 inch props. You can build a different size drone but then you need to choose appropiate motors, esc and battery. |
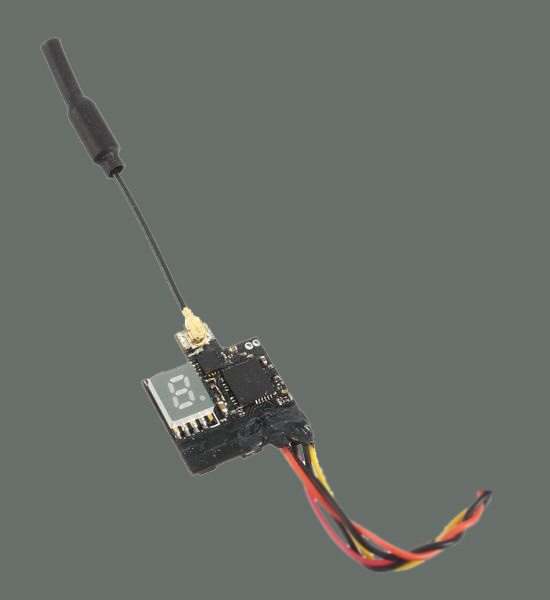 | Video transmitter, like this one: bangood.com VTX Again, you can choose a different one, the only condition is to be as light as possible. |
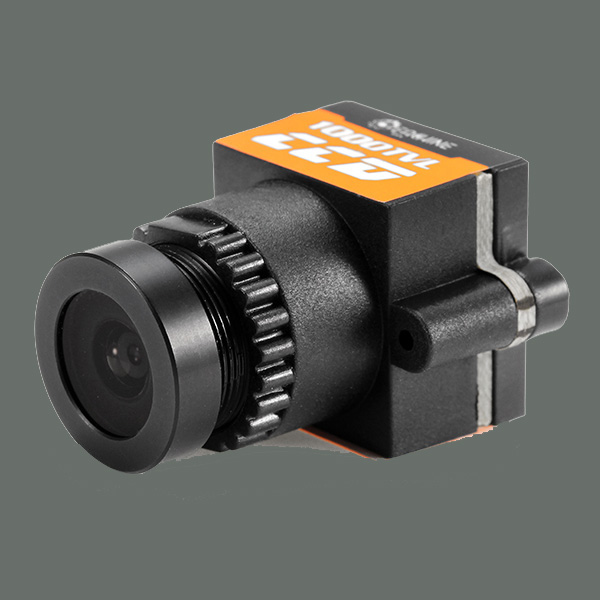 | Video camera, like this one: bangood.com Camera Again, you can choose a different one, but choose a good one, image quality is one of the most important things for how much you'll end up enjoing flying the drone. |
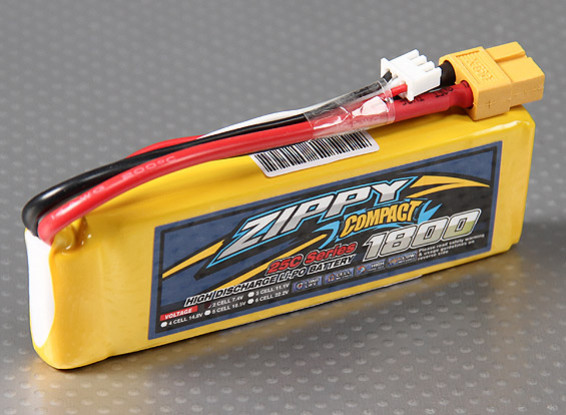 | Battery, like this one: hobbyking.com Battery Again, you can choose different ones, but for this motors and props you'll need a 2 cell battery and at least 1000 mAh. |
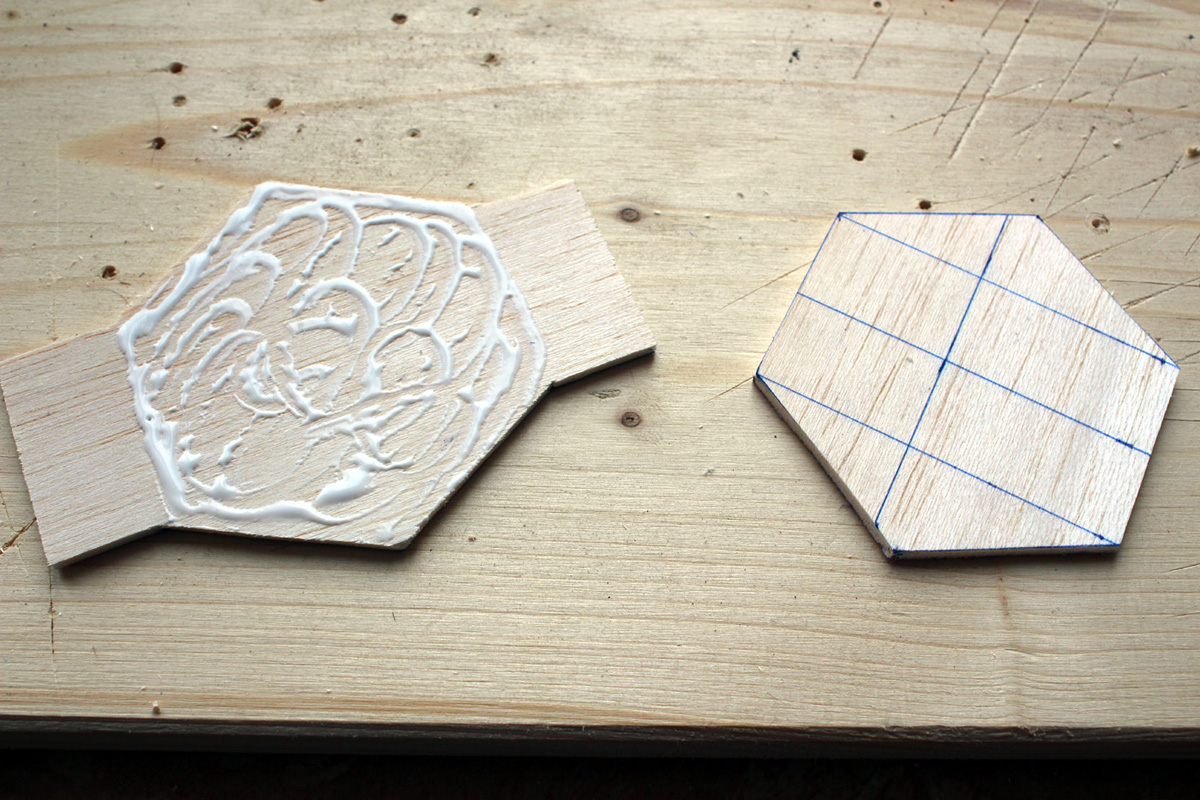
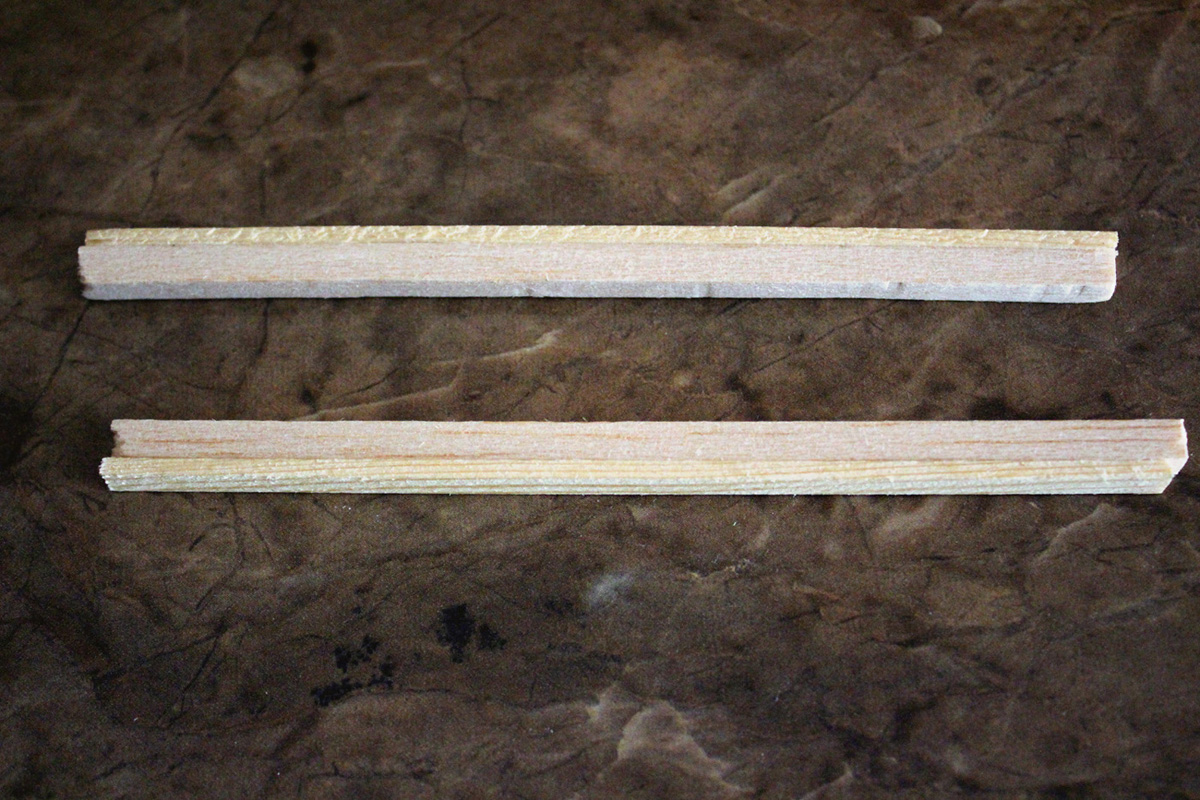 1. Cut sticks of 14 cm length. I used thiner regular wood glued together with balsa wood for weight savings. You can just use a stick, but it needs to be at least 5mm thick to allow for motor mount holes. | 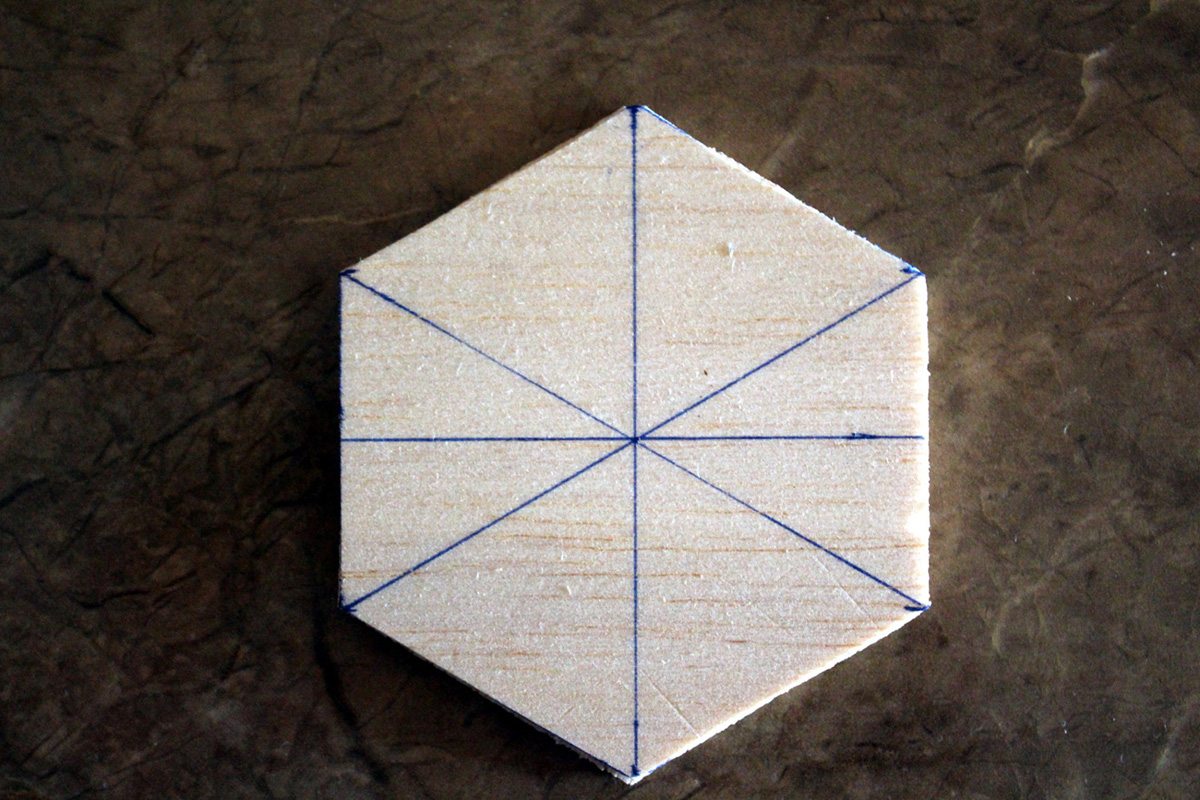 2. From a board of balsa, cut 2 hexagons, the length of each side should be 4 cm or bigger. The balsa should be at least 2mm thick. It's easier to draw the hexagon if you know that it's made up of 6 equilateral triangles. | |
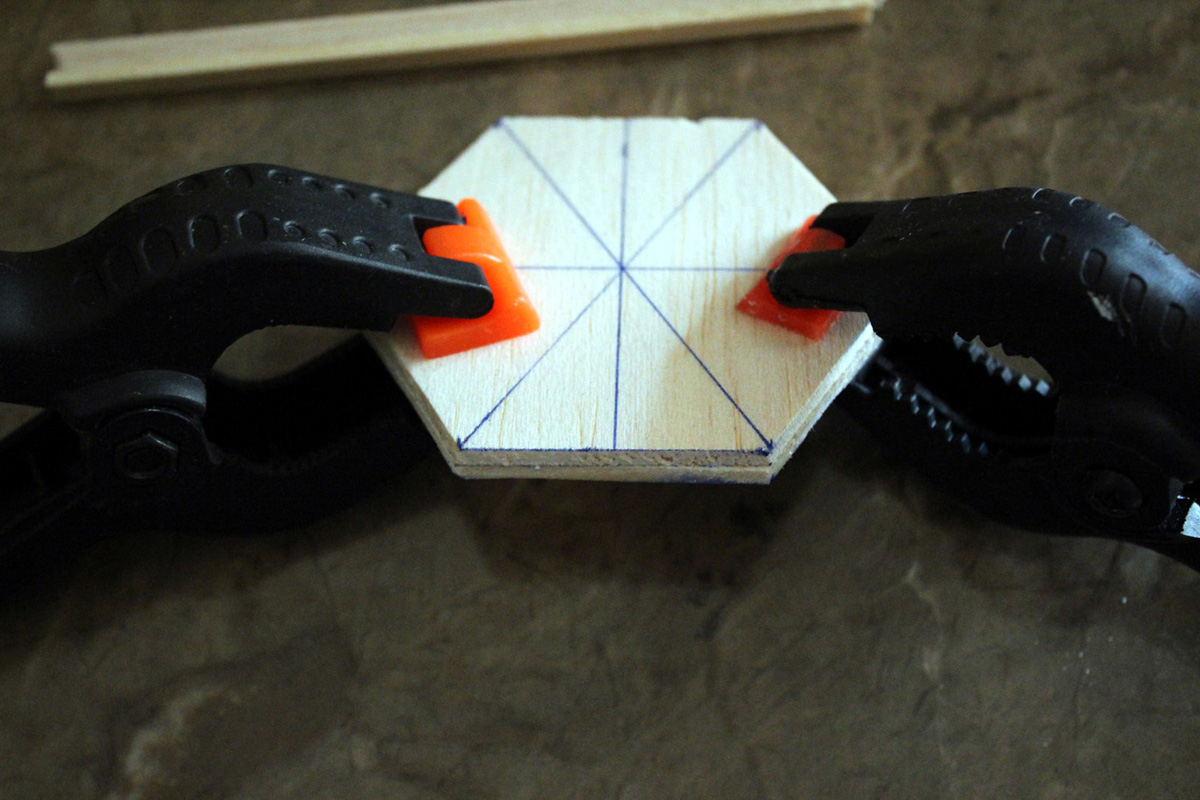 3. Take 2 of the hexagons and glue them together. Please note: rotate one of them so that the grain of the two hexagons do not have the same direction. This gives strength to the final board. | 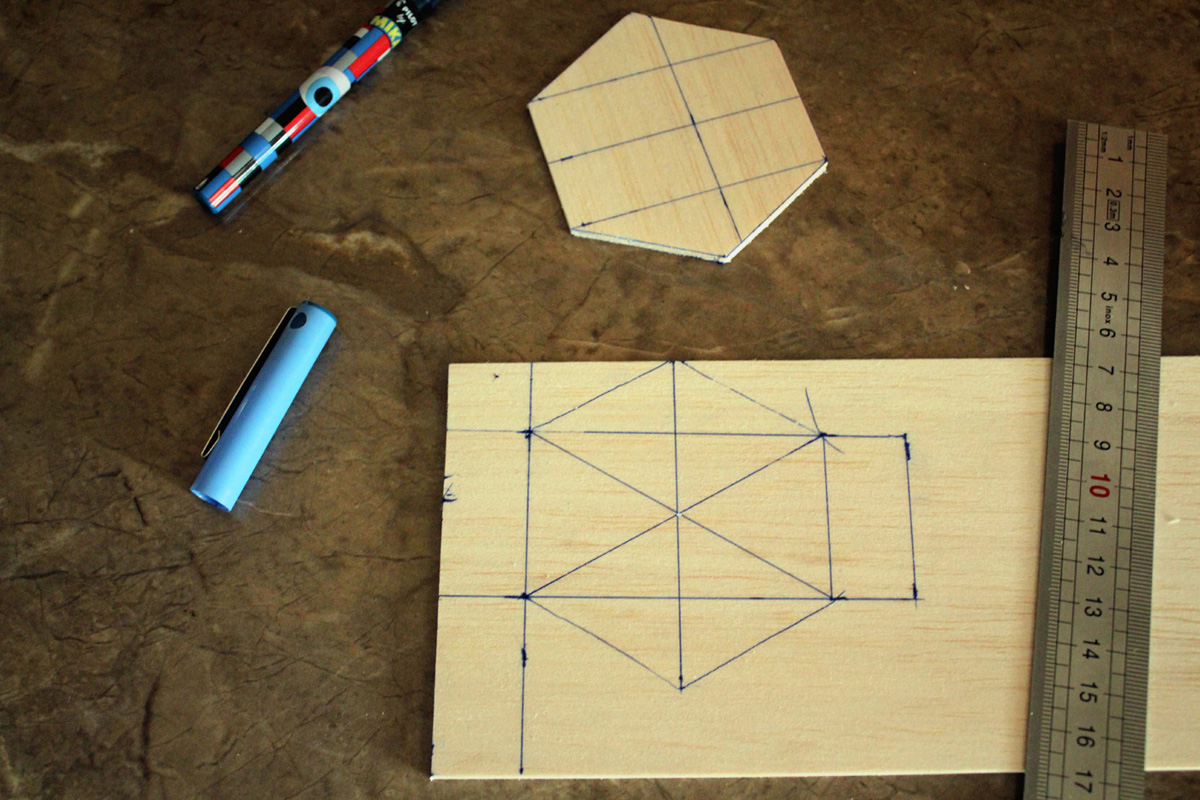 4. Repeat the process of making two hexagons, this time add some extrusions to one of the hexagons. This will give some additional surface for where to mount the electronic components and the battery. | |
 5. Again, glue the 2 hexagons together. | 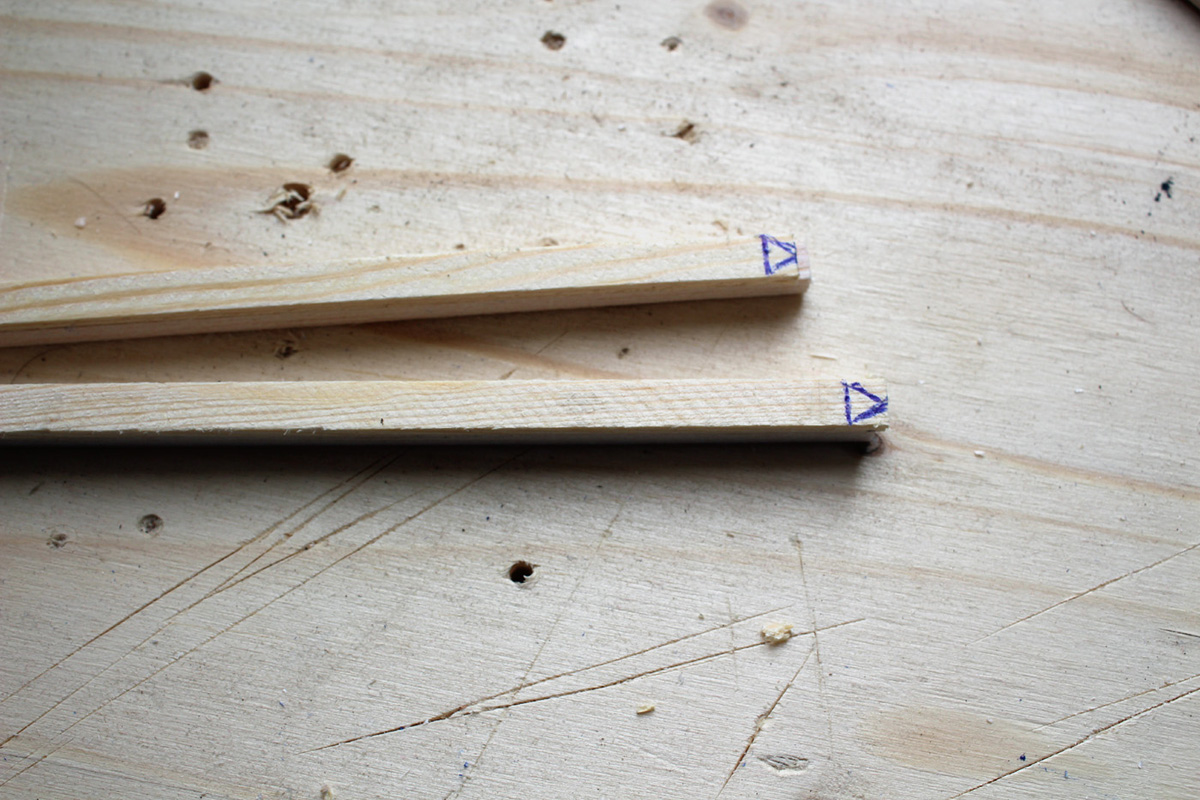 6. At one end of each stick, mark a triangle and cut the stick to be sharp. Ideally the triangle is equilateral, but it's not so critical if it's not. It just helps with the final strength and clean of the build. | |
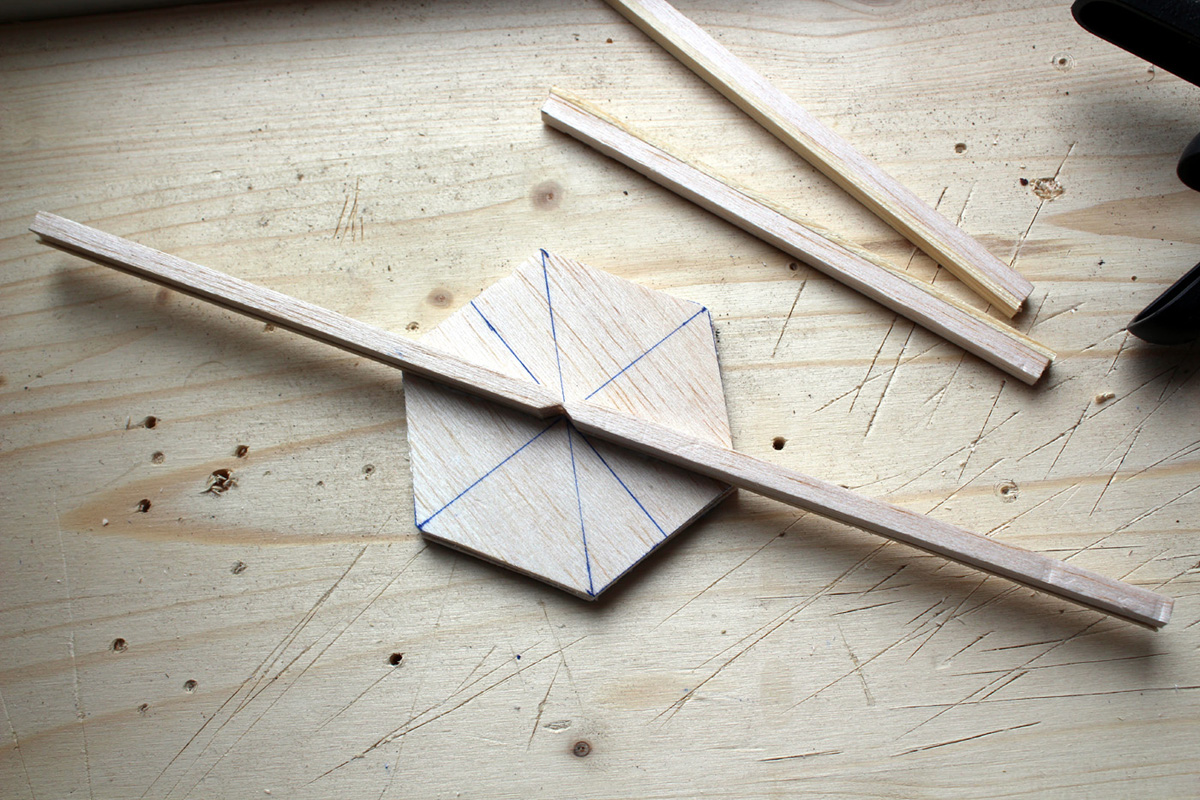 7. Start gluing the sticks to one of the hexagonal bases. Glue only two of them, making sure they are inline. This is important to get it right. The alignment of the 6 sticks determines the symetry of the final drone. |  8. Glue the other remaining sticks, at each step making sure they are aligned. To help with alignment, the distance between the end of the sticks should be the same for all of them (Remember, a hexagon has 6 equal sides). | |
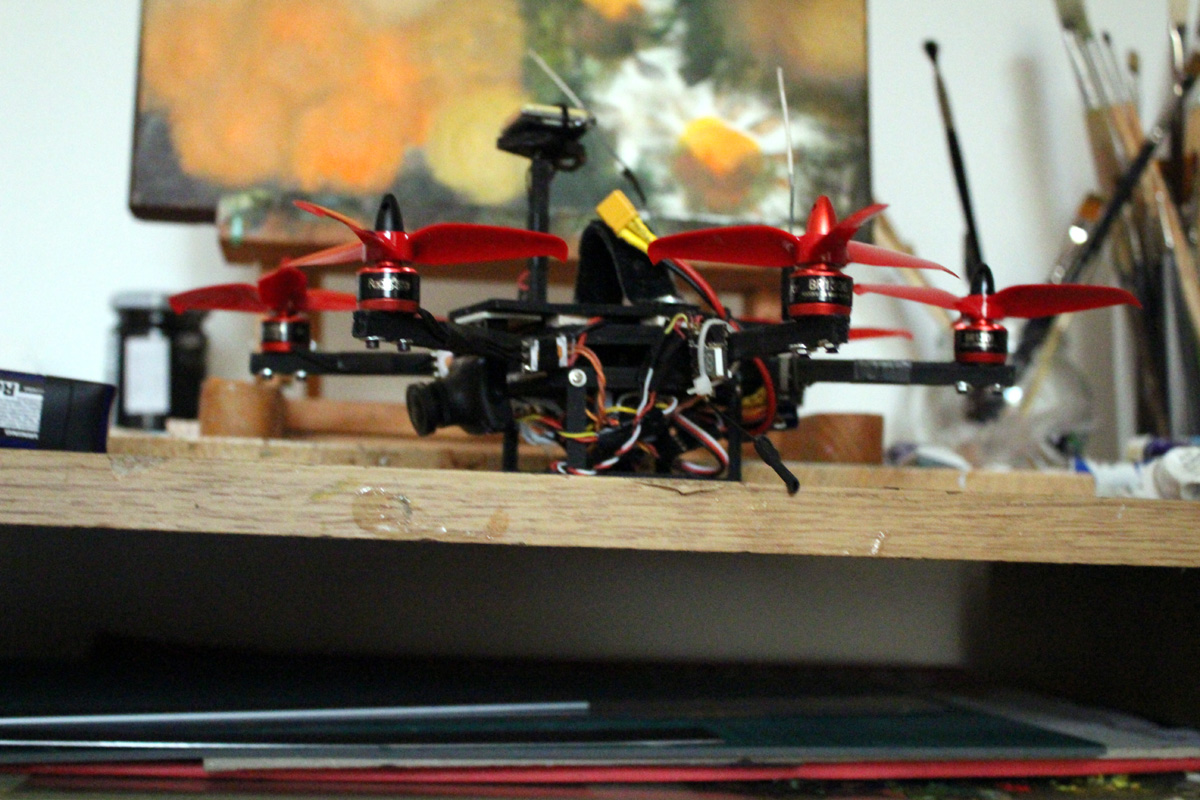
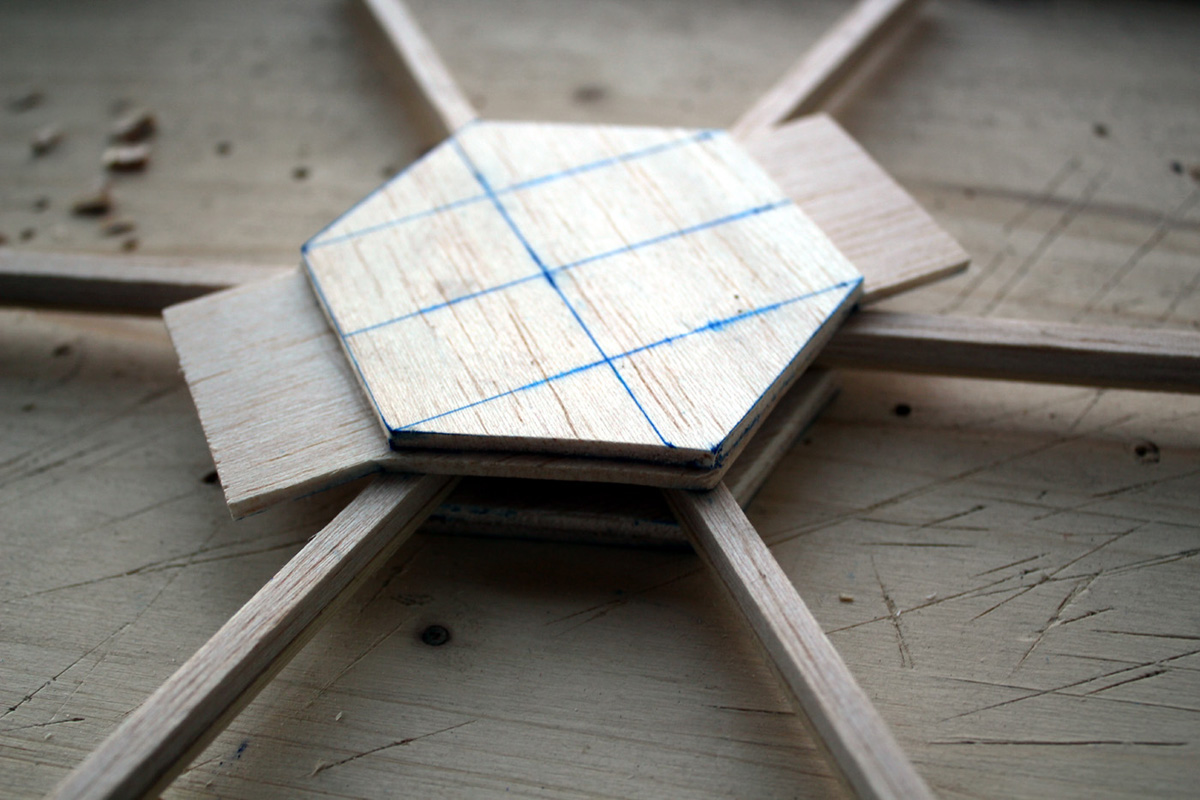 9. After the glue dries, glue the other hexagon on the top side of the drone. | 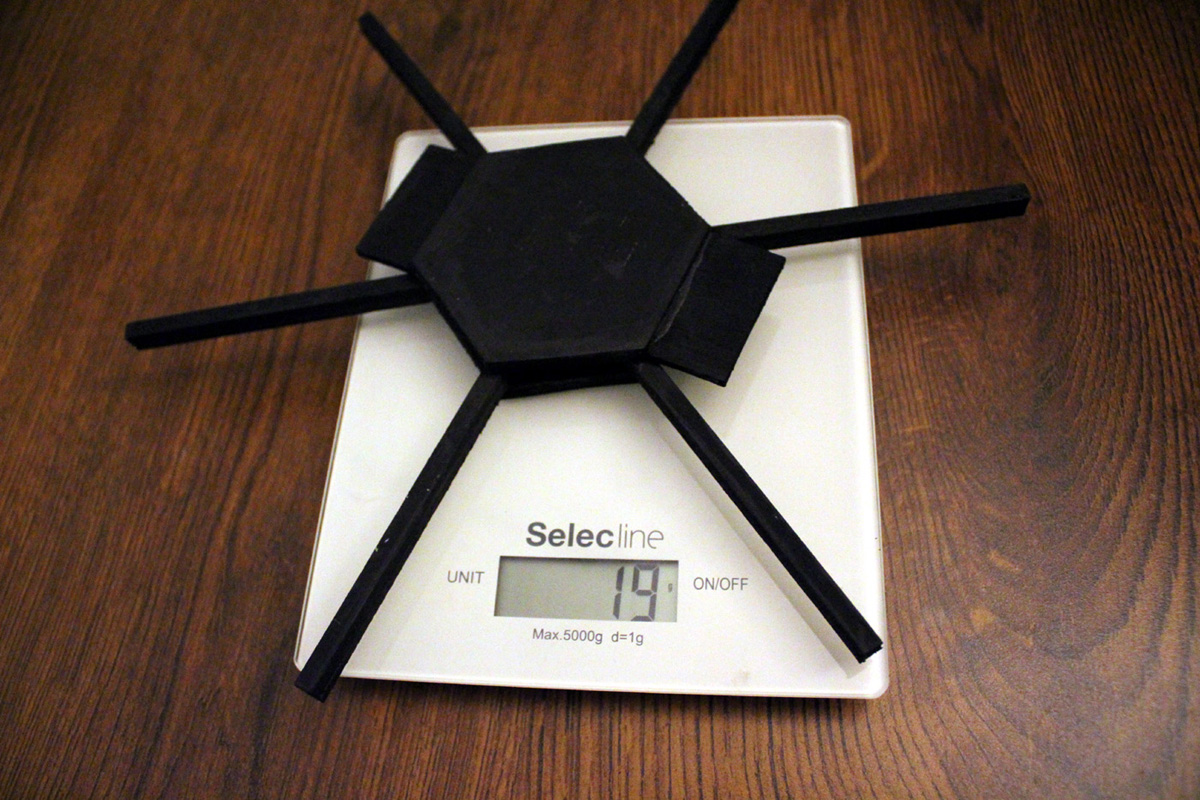 10. After everything dries, paint the drone with any color you like. I used acrylics paint. Painting the drone helps to keep the wood away from moisture over time and improves the looks. Final weight of the frame is 19g. Not bad. | |
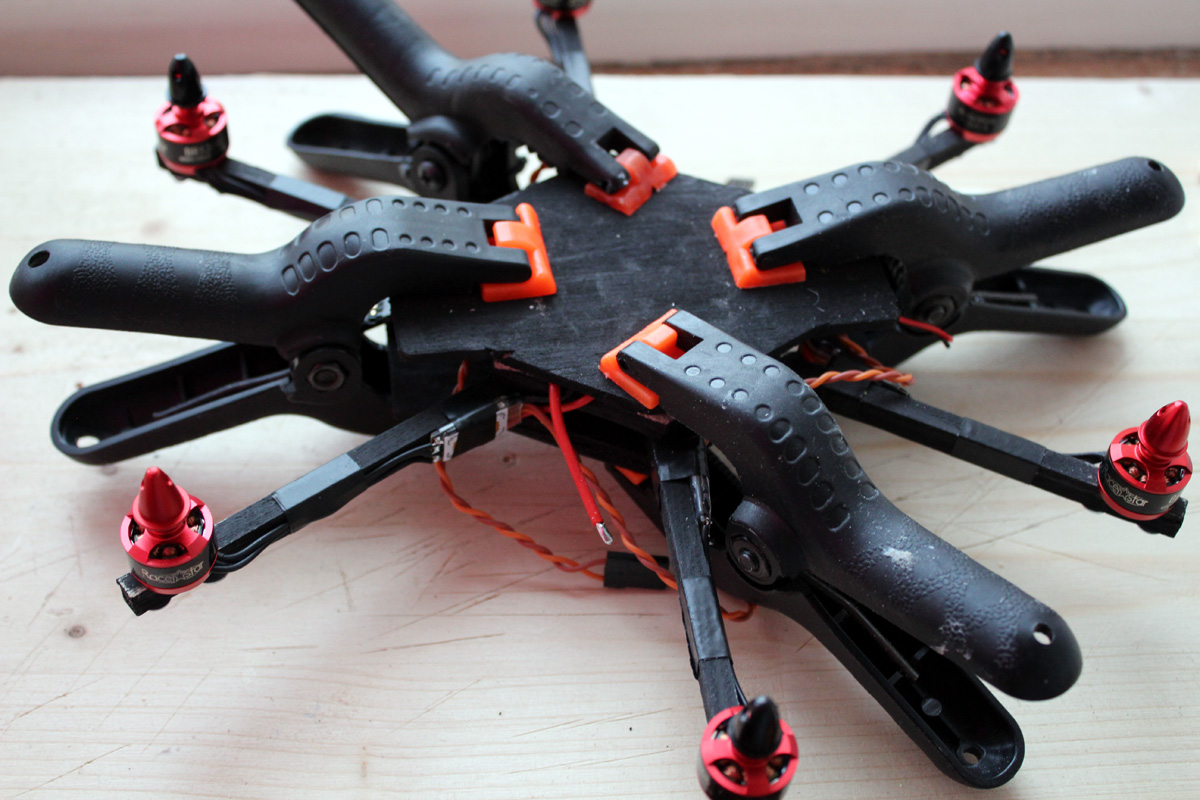
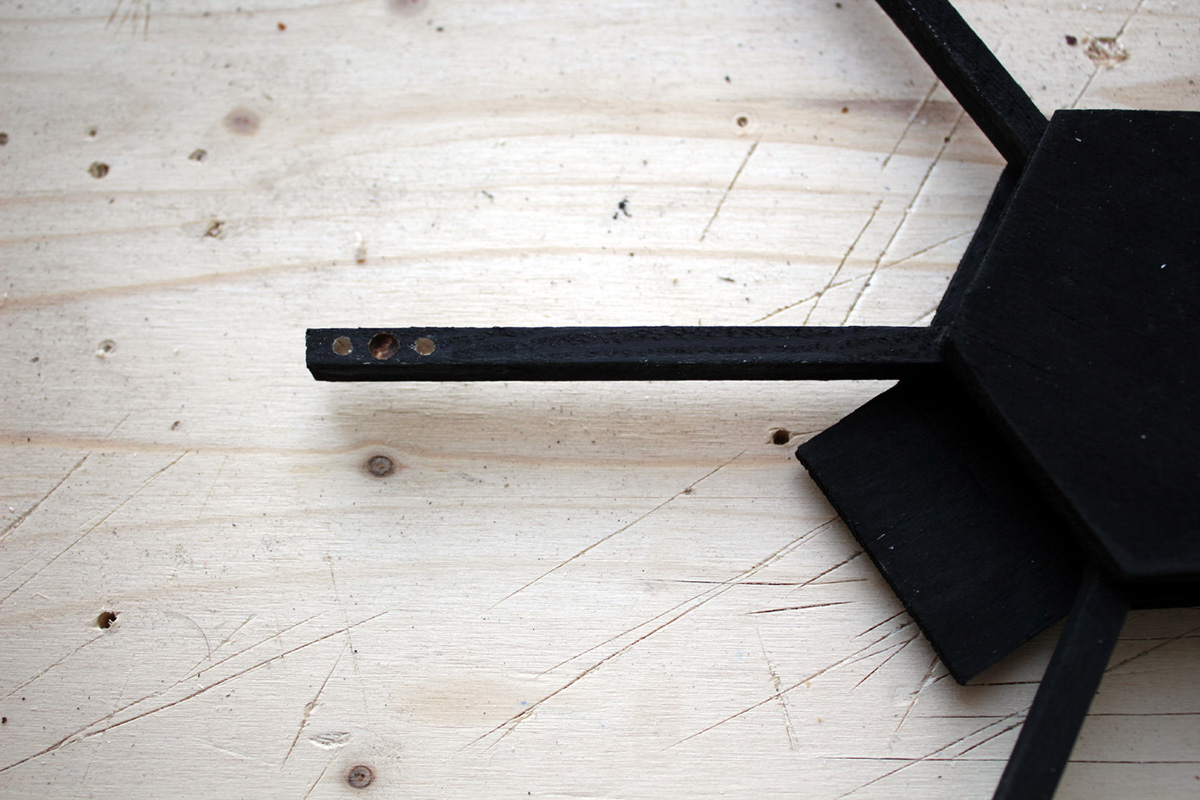 11. Note the distance of the mounting holes on the motors and drill holes in the arms using that distance. If the motor shaft sticks out from the bottom of the motor, then drill a partial hole too for it, between the two holes for the motor mount. | 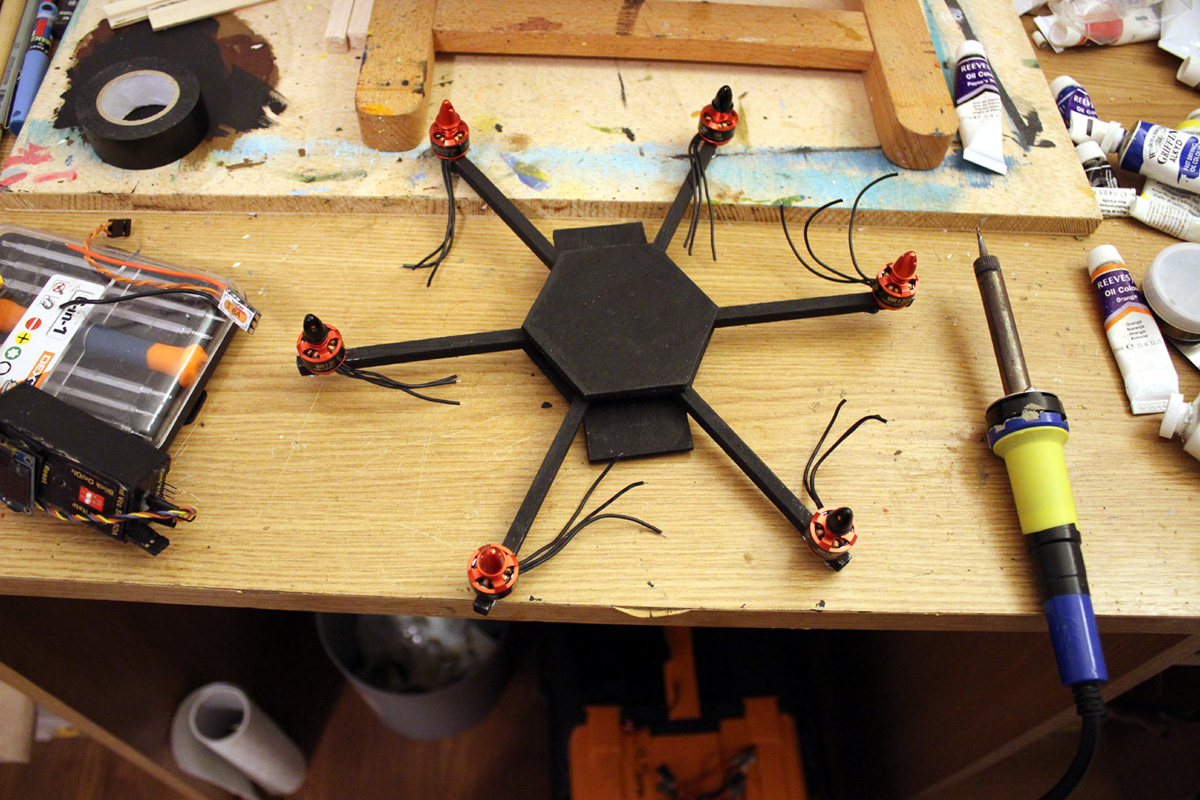 12. Mount all the motors to the frame. You should use locktite anytime you screw a metal screw to a metal part, otherways vibrations could unscrew it over time. | |
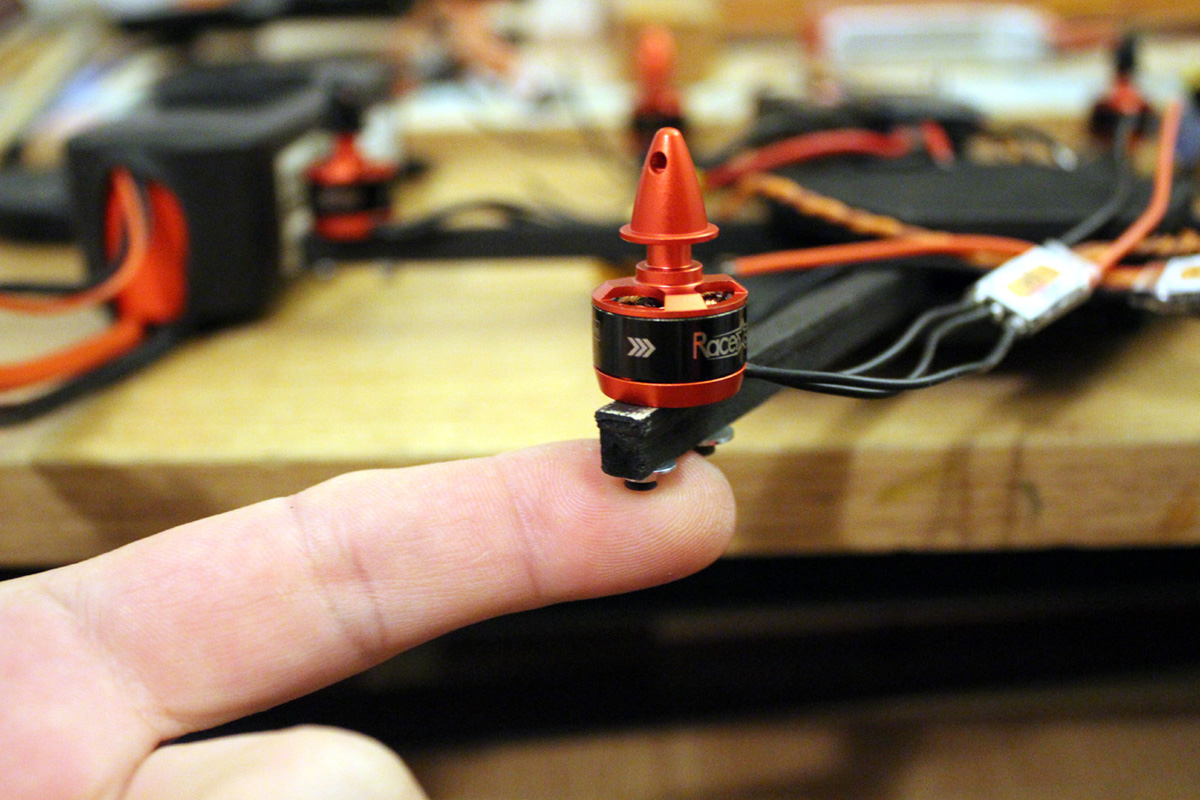 13. Just a size reference close up to the motors to see how small the drone will be. | 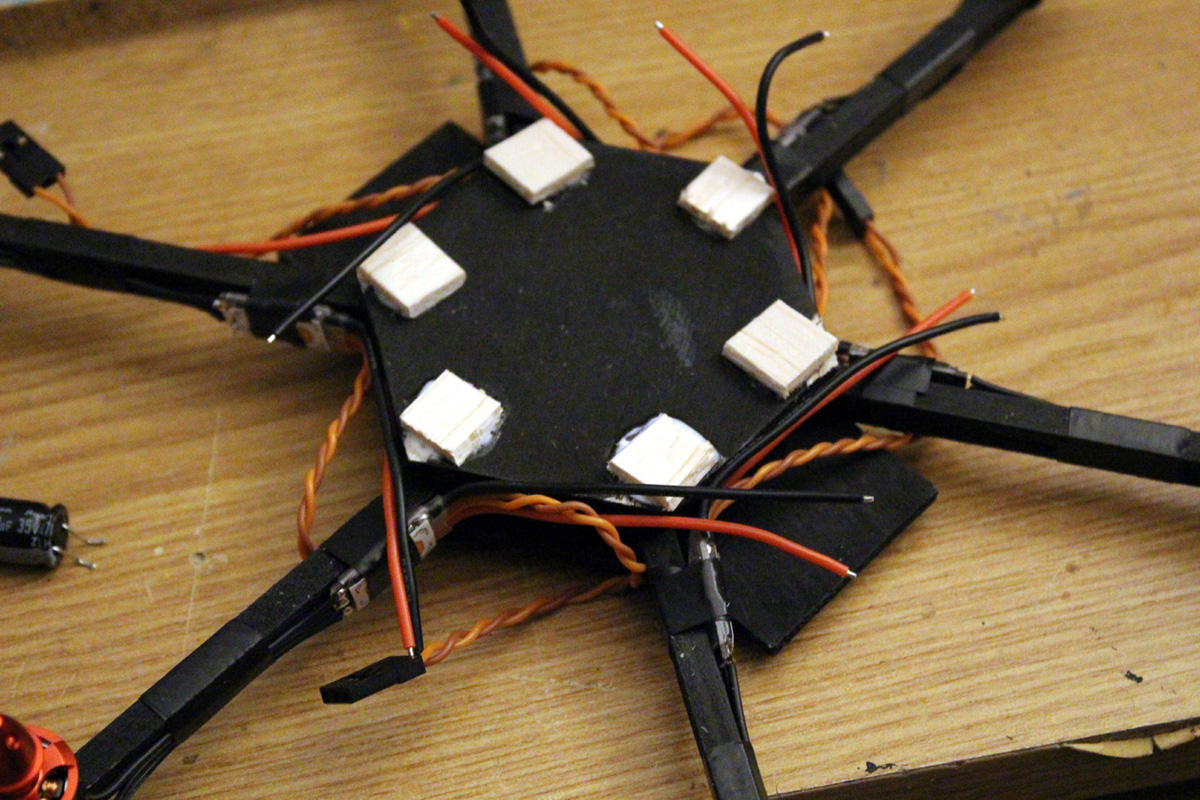 14. Mount all the speed controllers. Connect them to the motors. Please note that the motors will rotate alternatively one counter clockwise and one clockwise, starting from the first one on the front right as you look forward with the drone. | |
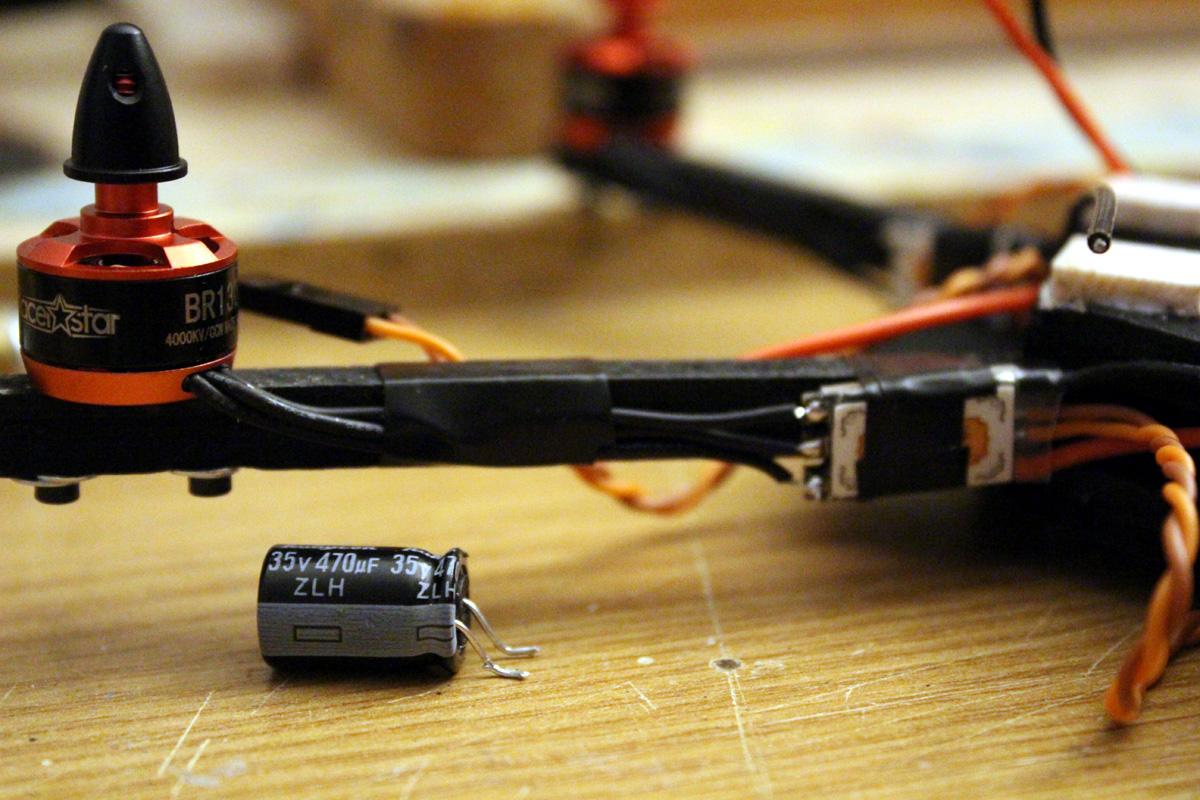 15. Close up of how each speed controller is connected to the motor and mounted to the drone's arms. | 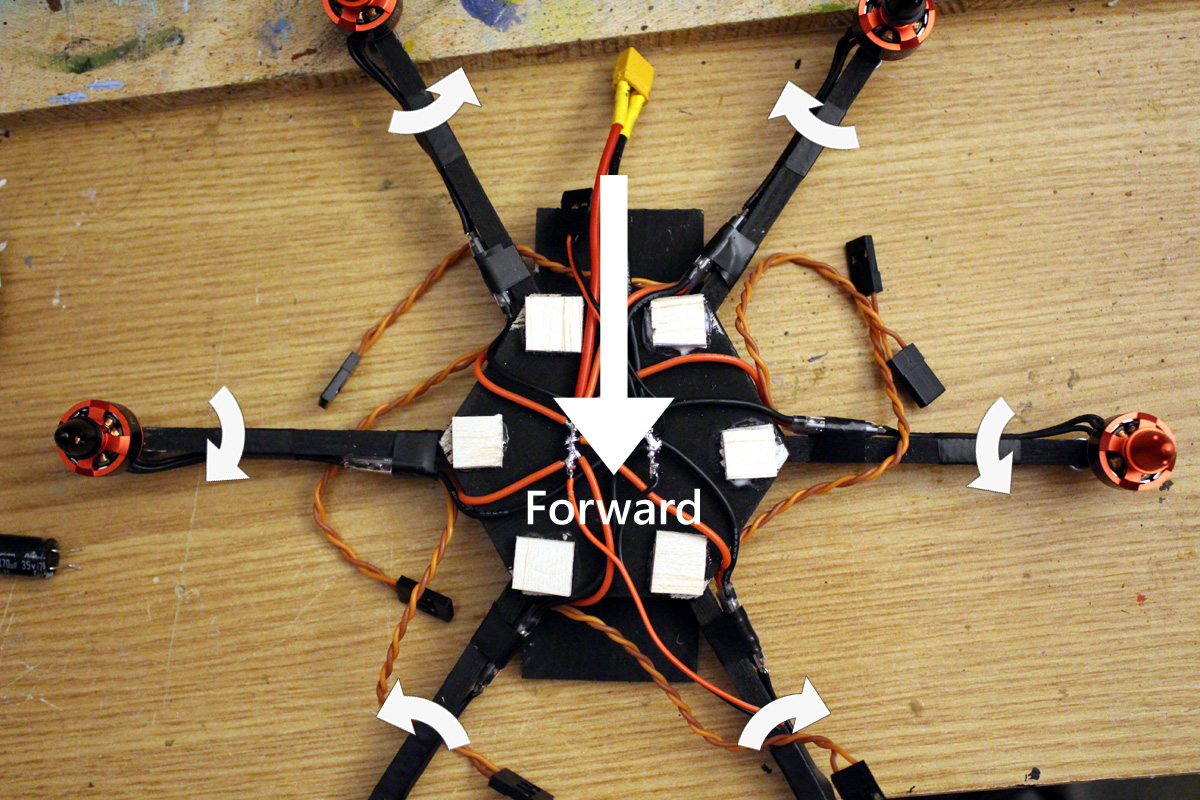 16. How each motor should rotate. To change the motor rotation, just revert two wires (any wires) from ESC to the motor. | |
 17. Solder together all the power wires from the speed controller. Ofcourse, positives with positives, negatives with negatives. IMPORTANT: Do not forget to add leads for power (battery). Add some balsa wood spacers between the wires. 2mm thick should be enough. This will help in gluing a top cover on top of this wires. | 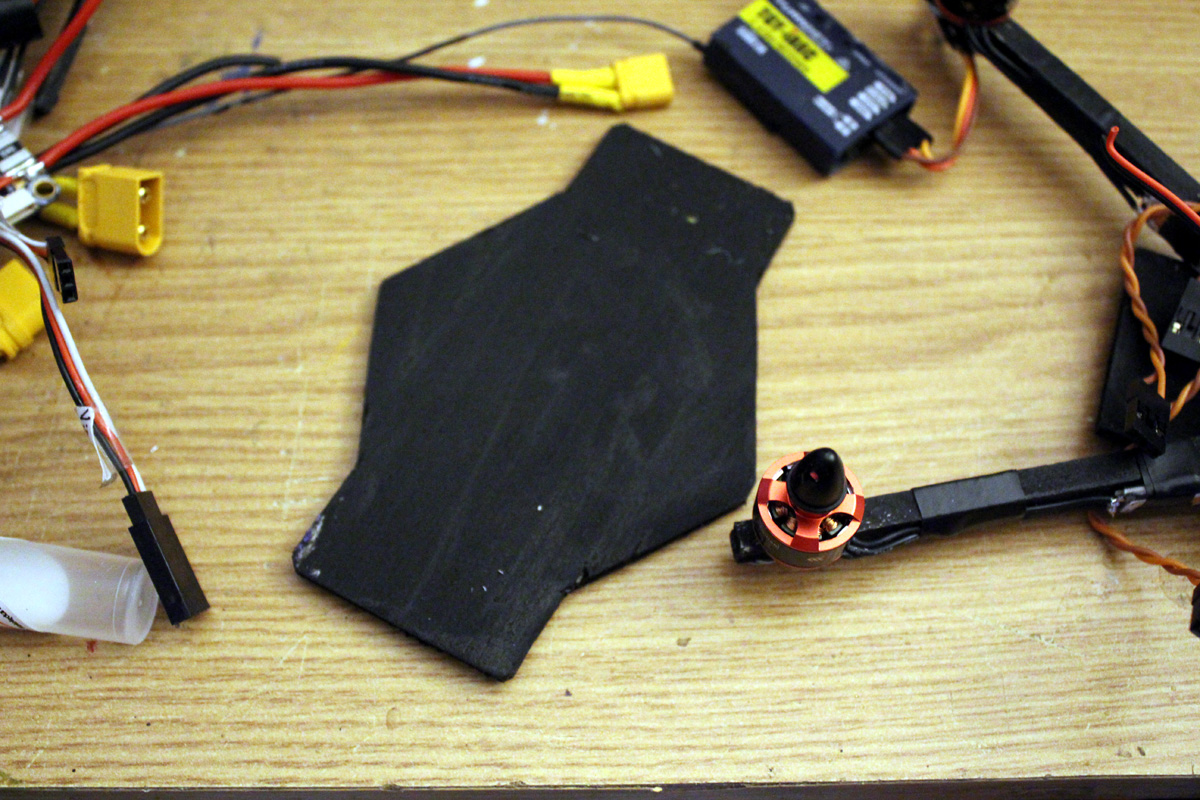 18. Cut again a hexagon with protrusions from a piece of balsa wood and paint it. | |
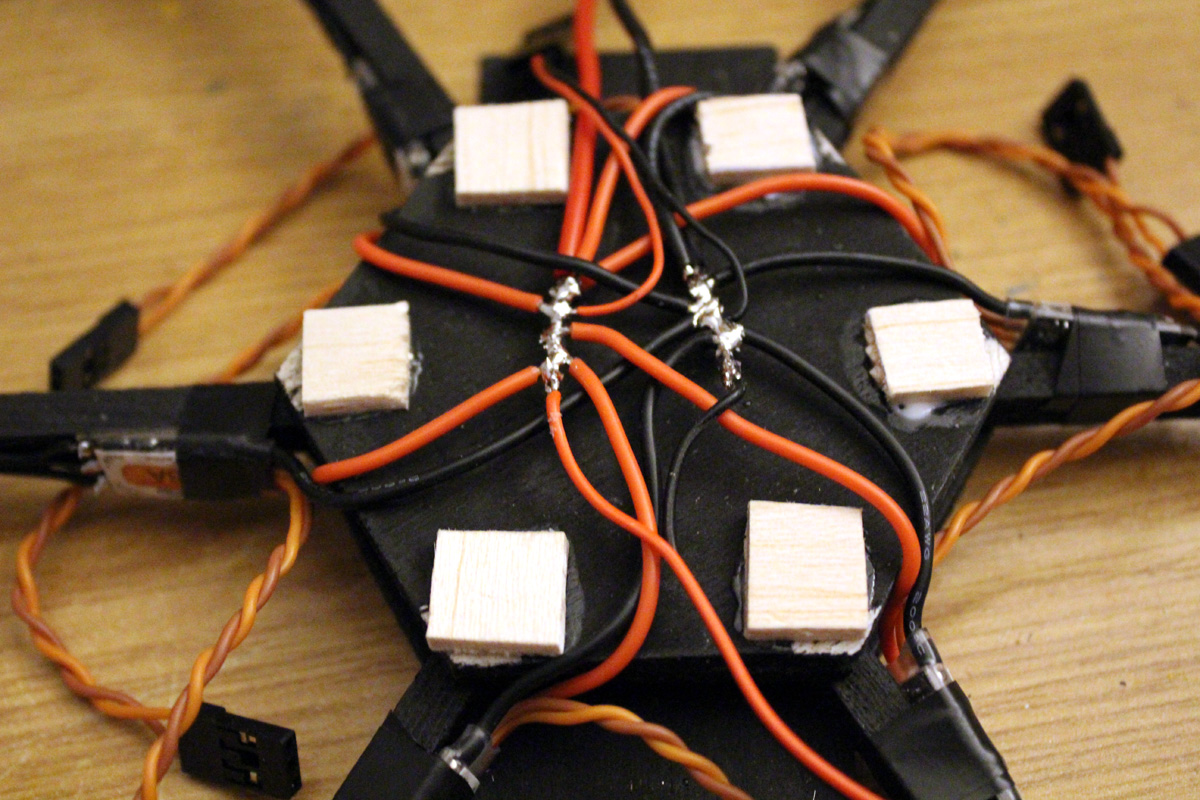
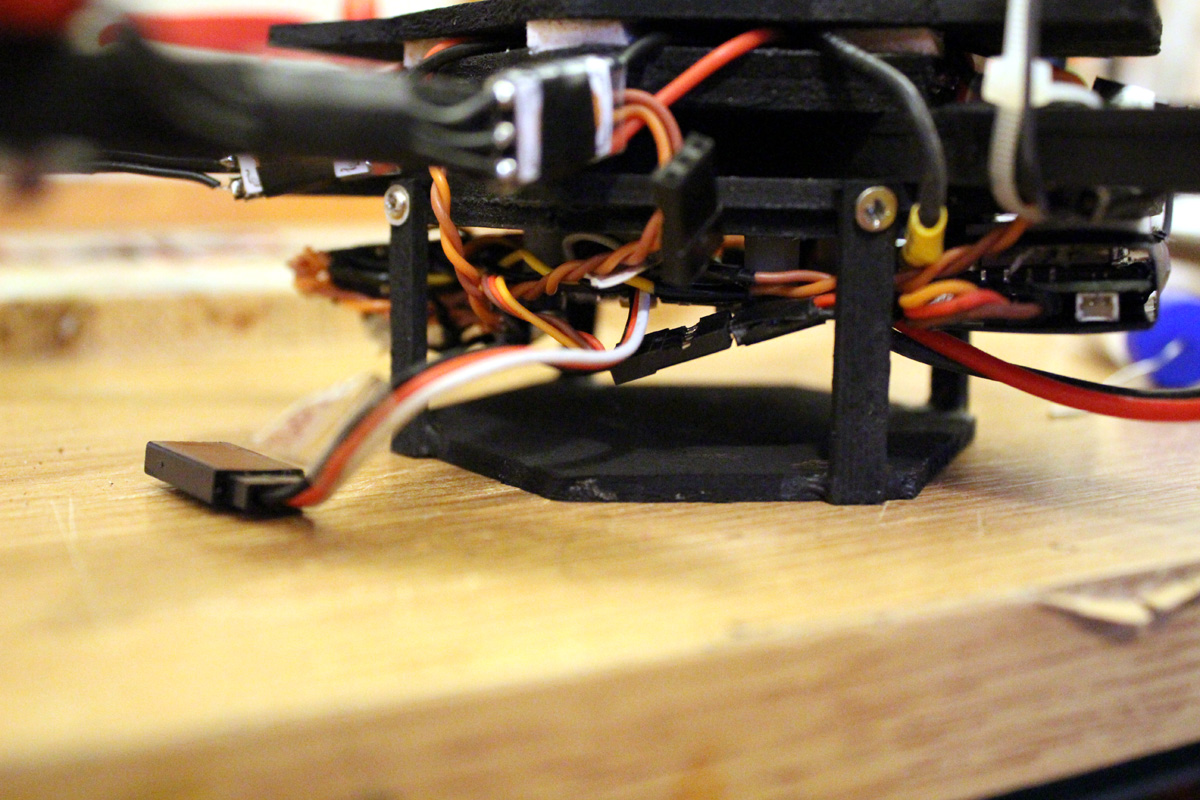
 19. Glue it on top of the frame over the power wires and let it cure. | 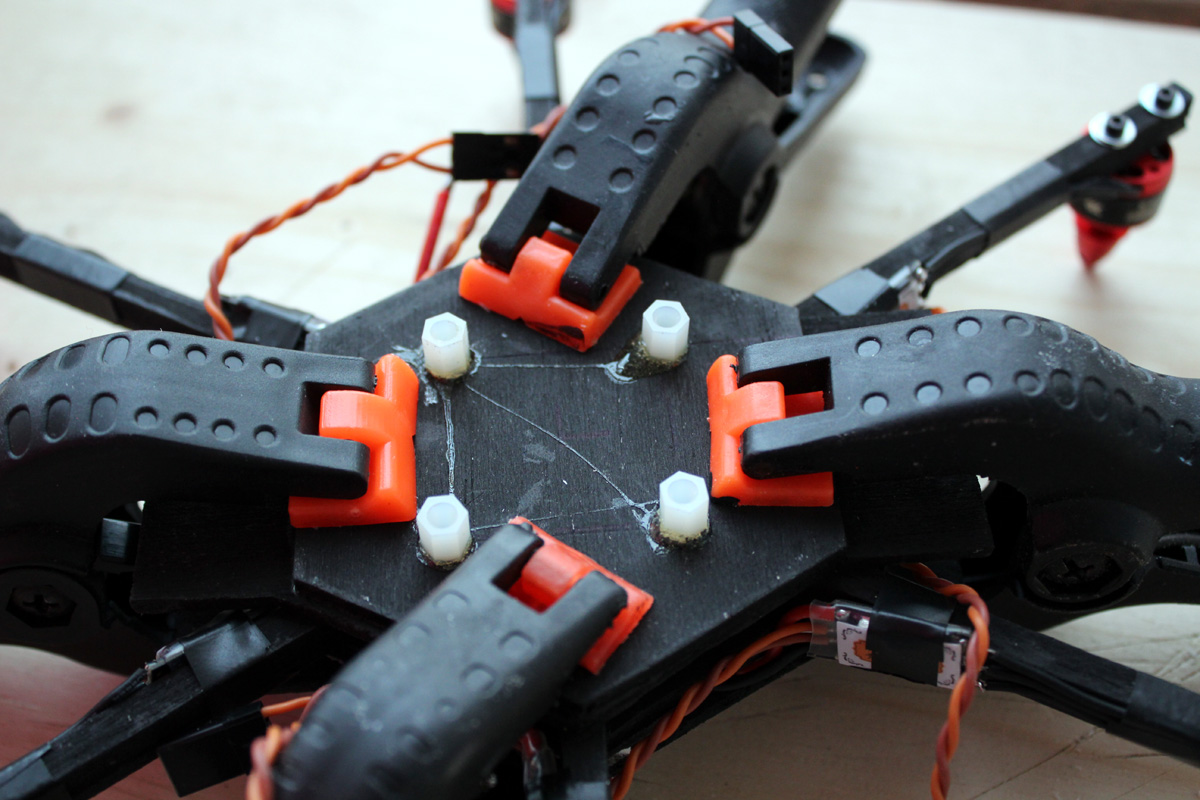 20. Note the mouting holes distances on the flight controller and add plastic nuts to the top plate in the same patern and distances as the flight controller. This should be as centered as possible on the BOTTOM plate as it helps the gyroscopes and accelerometers do a good job. | |
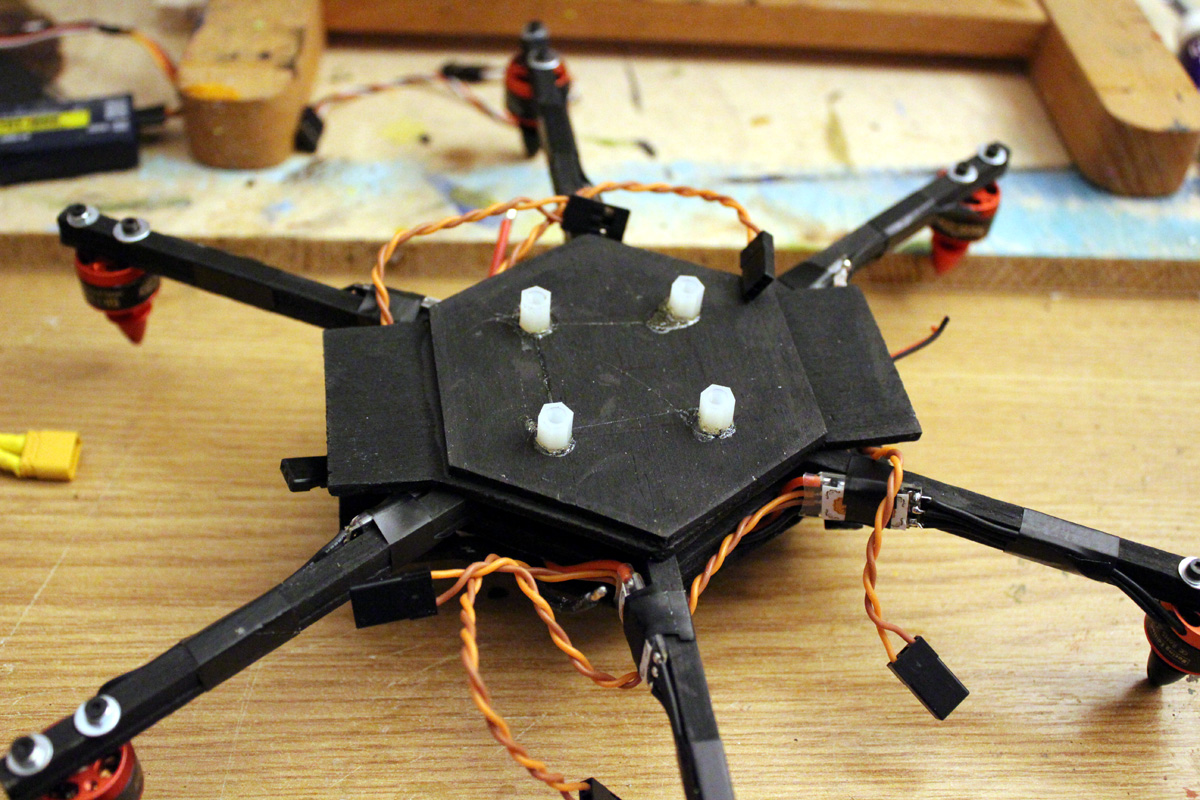 21. This is how it should look. Again, note that the flight controller will be mounted on the bottom of the drone. | 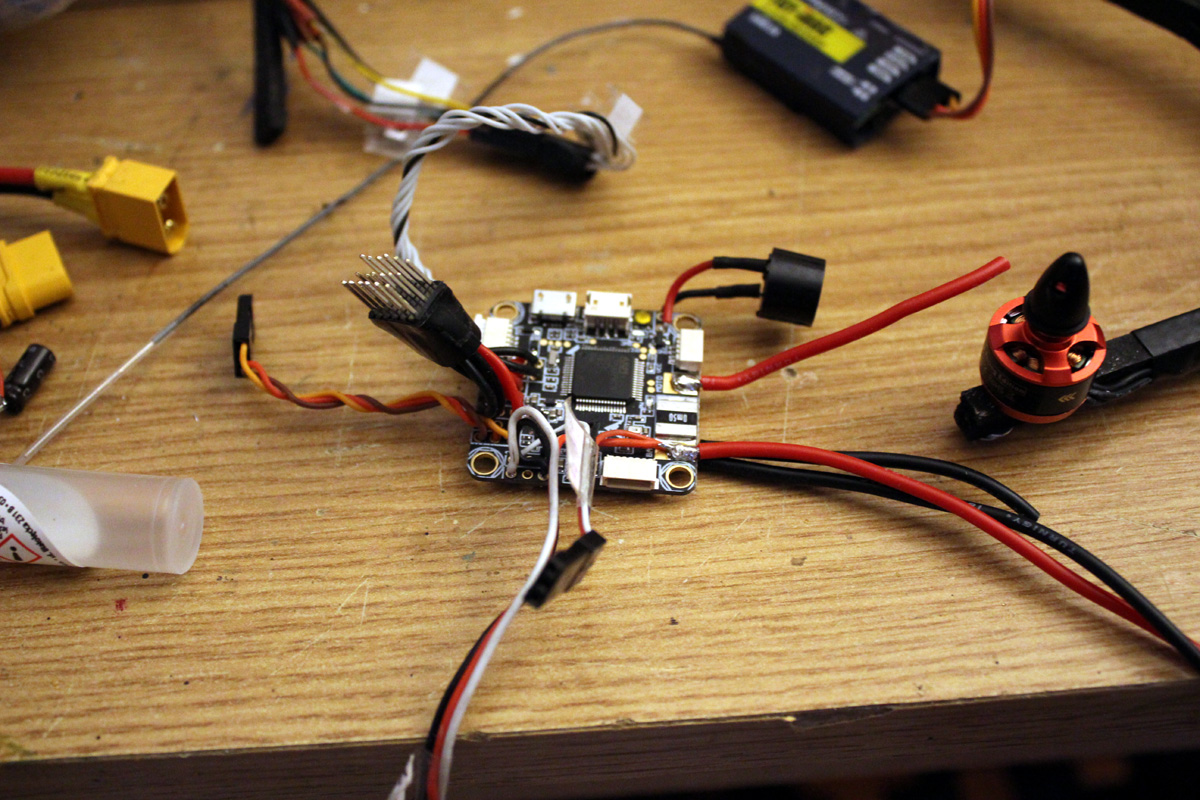 22. Now, we'll start with the electronics. Solder all the required wires to the flight controller: Power leads for the battery and motors, connectos for the speed controllers, for buzzer, for remote controll receiver, for GPS and for video in and video out. | |
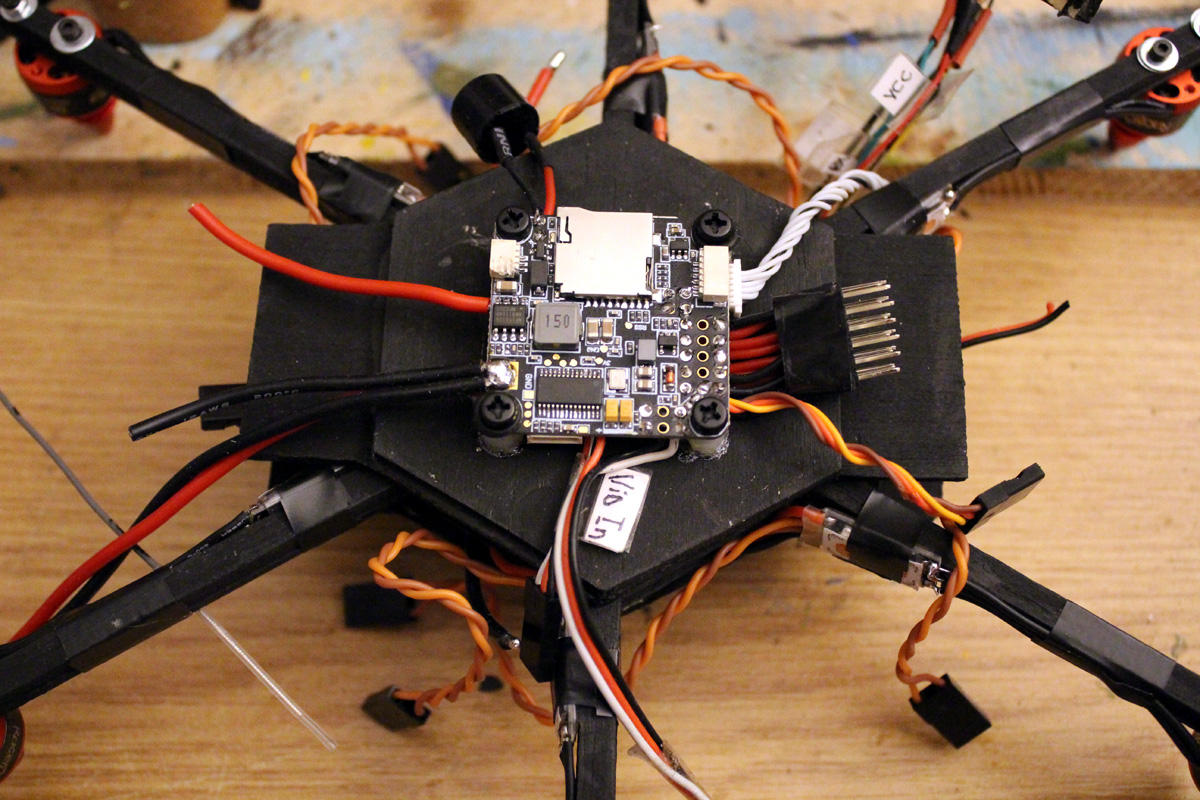 23. Mount it to the drone frame and secure it using plastic screws. Metal screws are just fine, but plastic is better (softer). | 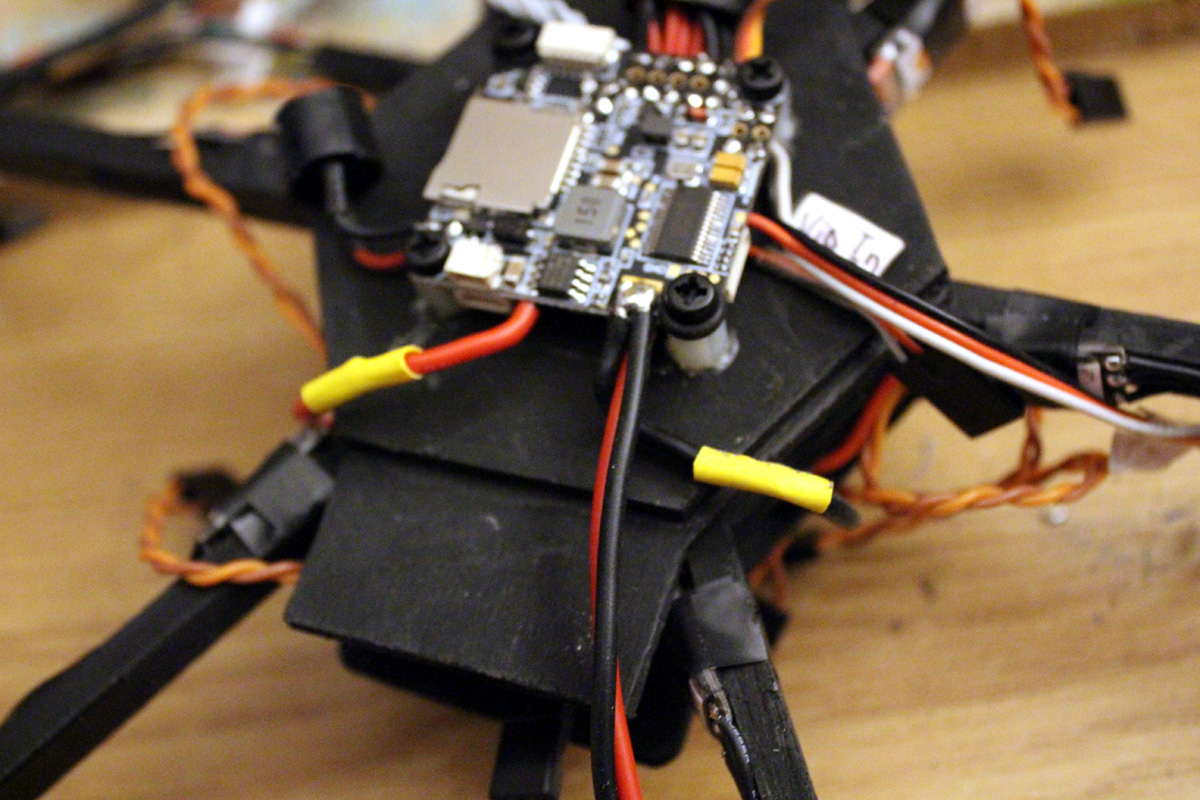 24. Solder the power leads from flight controller to the motors (the ones we covered in the previous steps, the yellow pars in this picture). | |
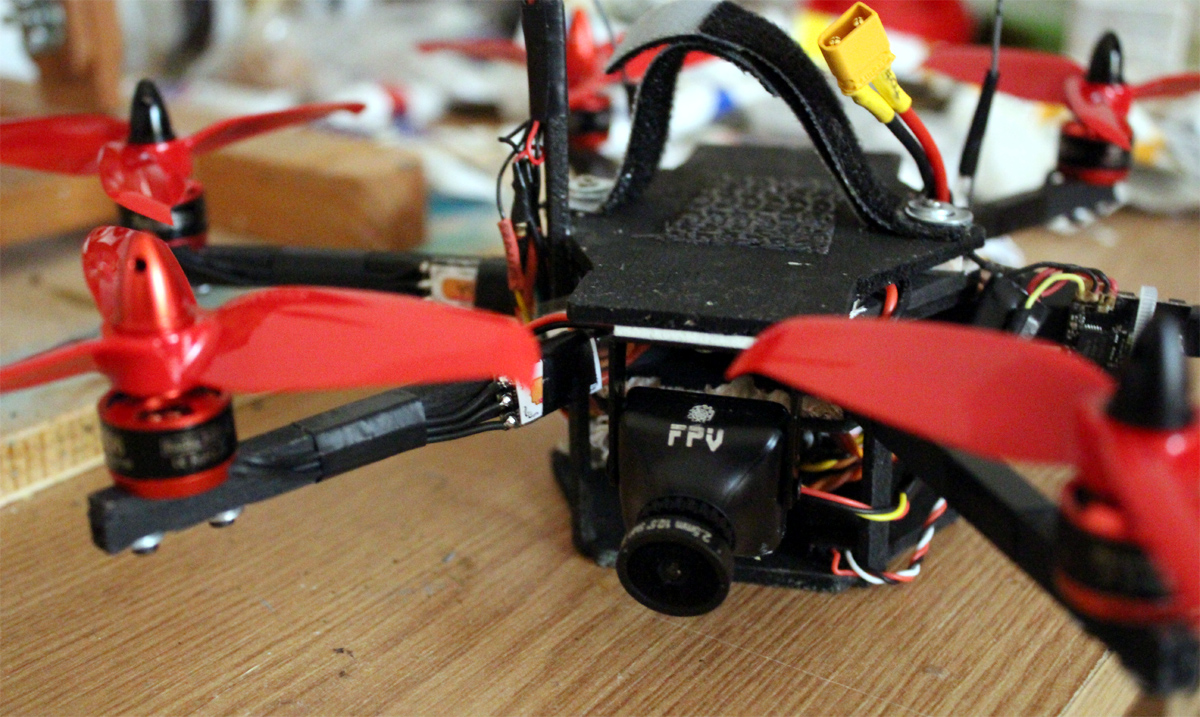
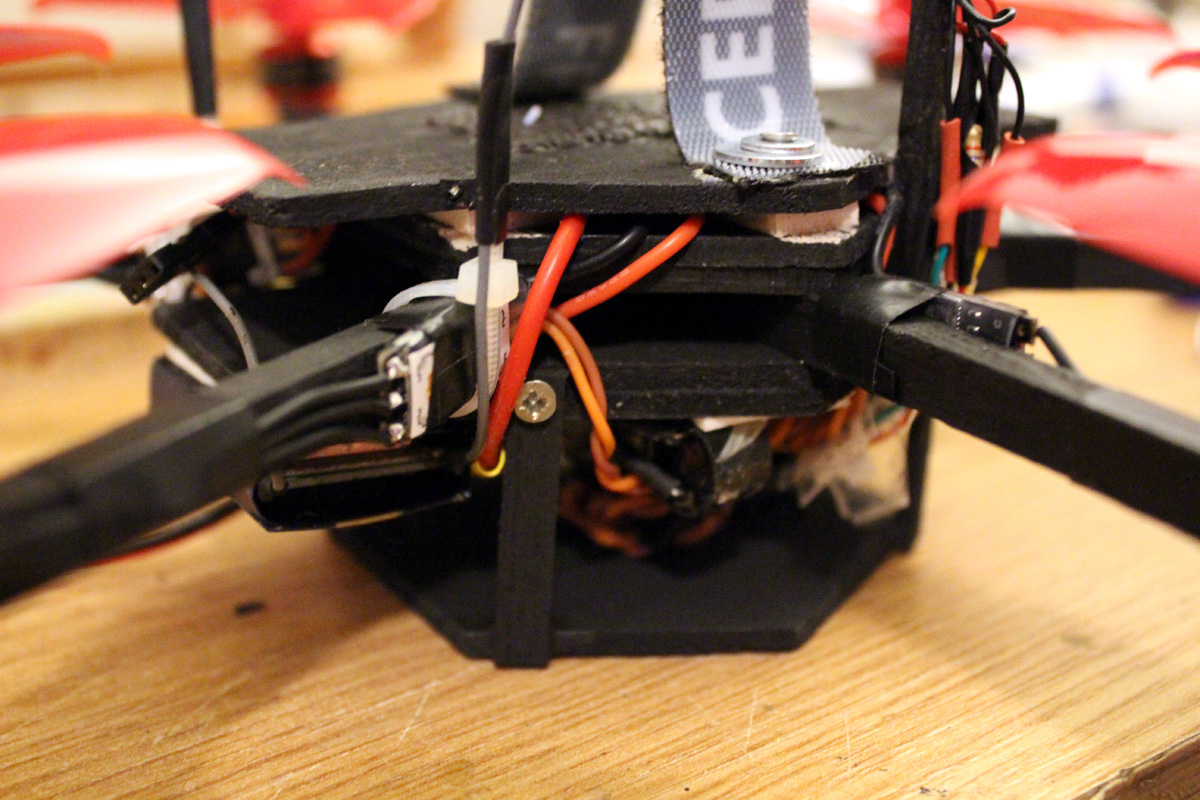
 25. Connect all the wires as needed. This might look like a mess, but it's an organized mess and will be covered anyway. | 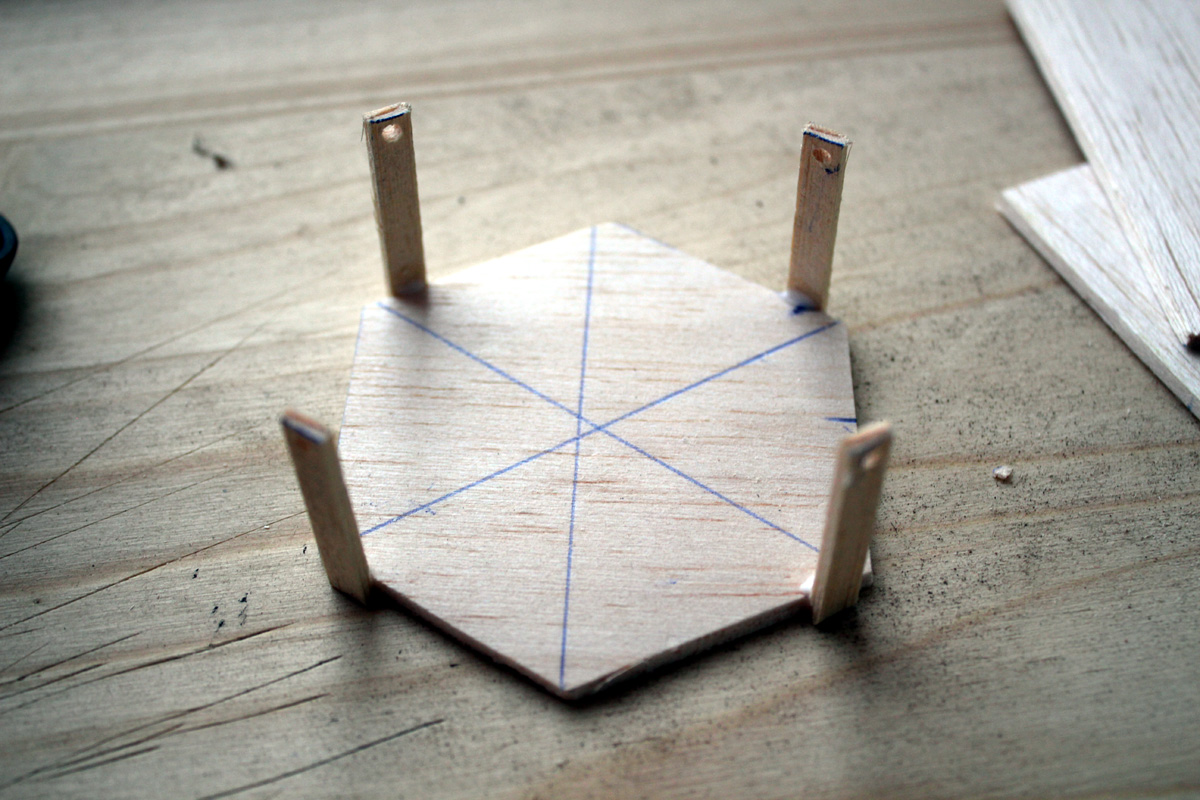 26. Make a new hexagon. Again :). Glue 4 sticks to it, as in the picture. Drill small holes at the end of each stick. Paint it again with the color you like. | |
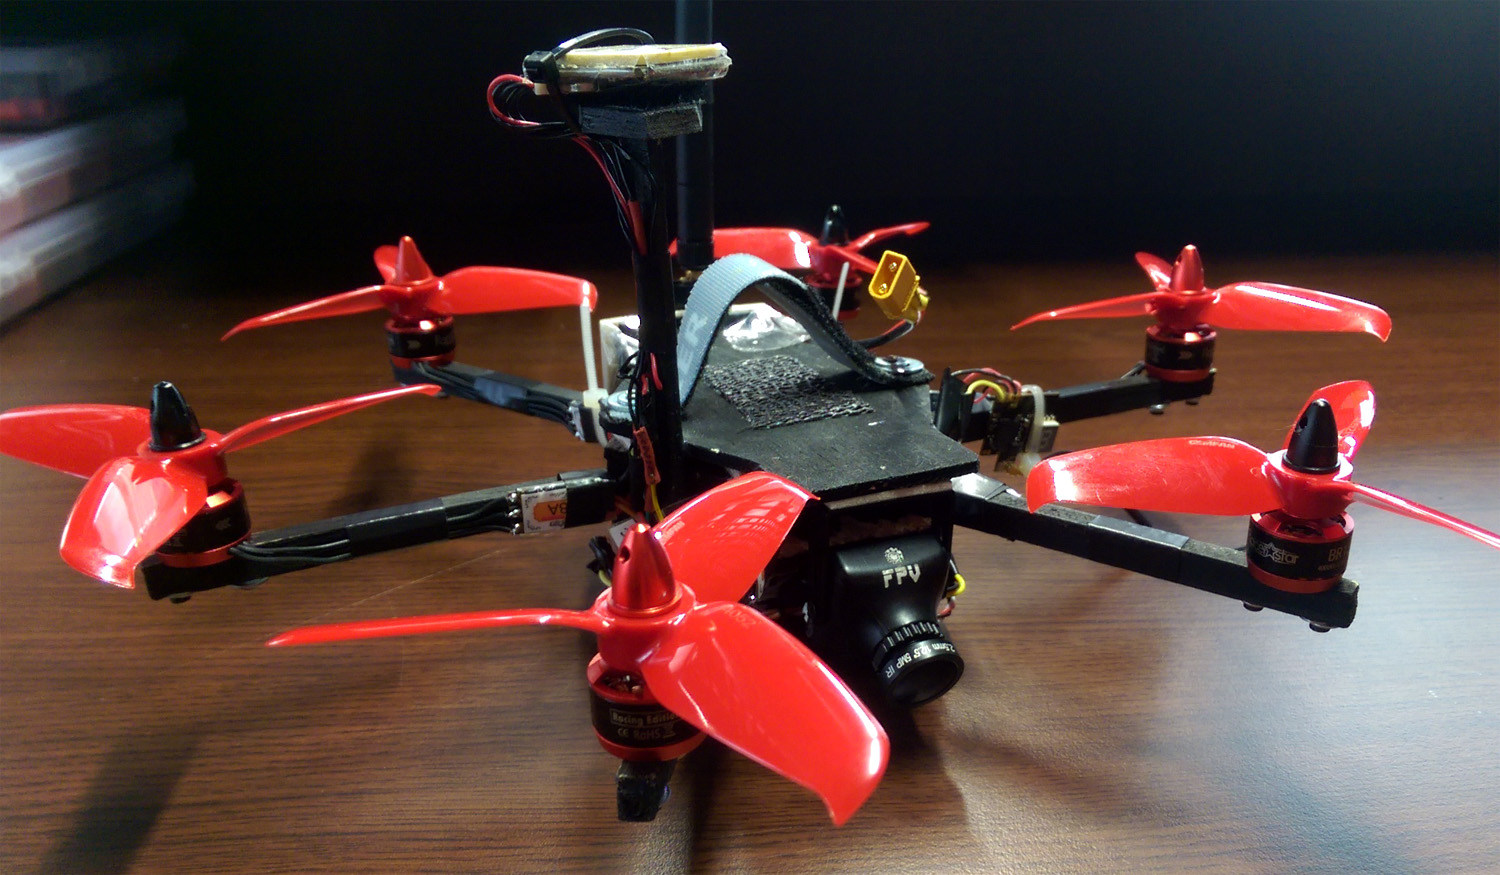
 27. Mount it on the bottom of the drone, using 4 small wood screws. This will become the base of the drone and will provide protection to all the wires and electronics. | 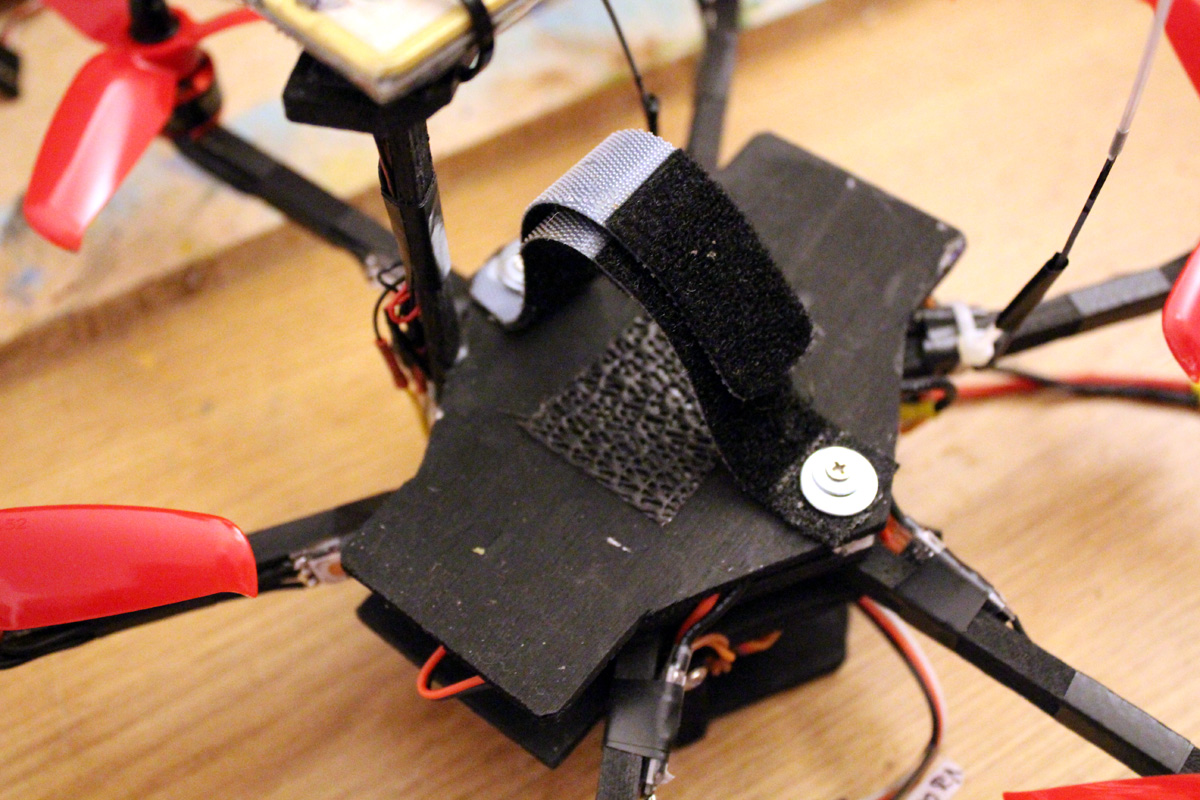 28. On top of the drone, mount some velcro strips to hold the battery. | |
 29. As the receiver antenna it's usually long, secure it to the frame using a zip tie (cable tie). | 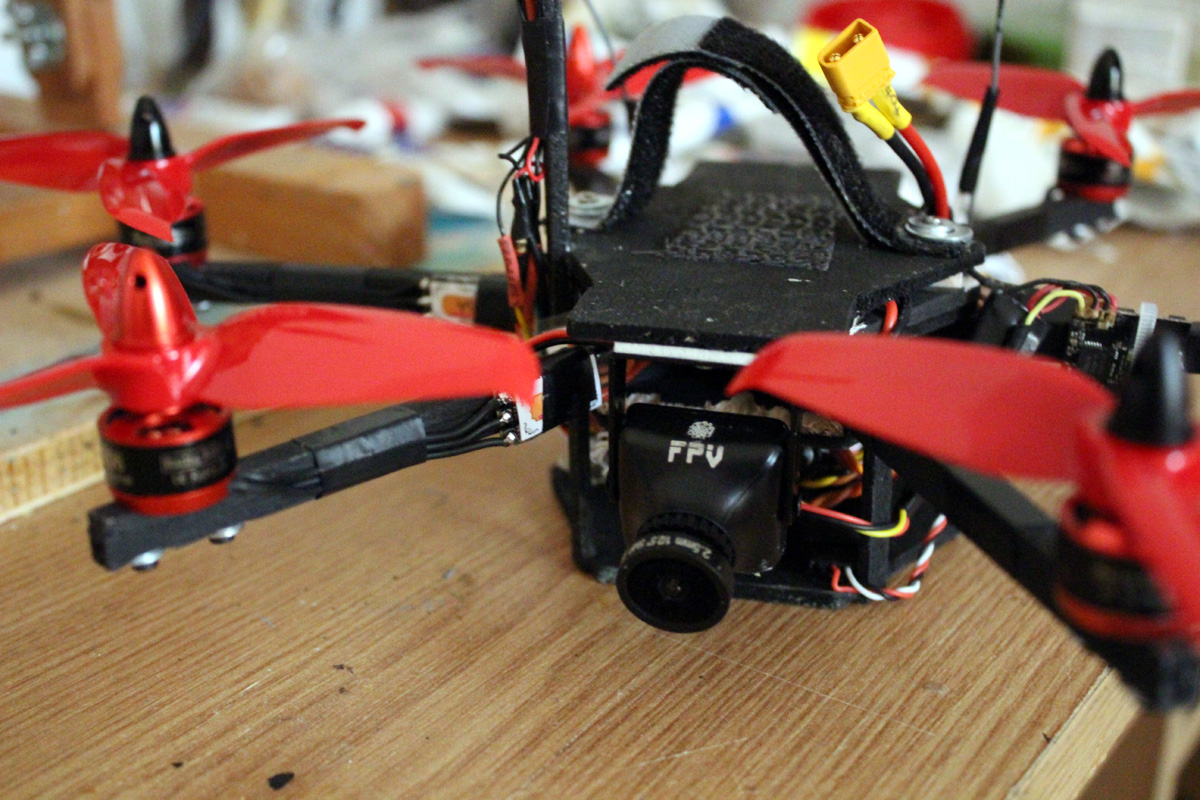 30. Mount the video camera using the support provided with the camera. Connect it to the flight controller using the previously soldered wires. | |
 31. Mount the video transmitter to one of the drone arms. Connect it to the flight controller. Please note that some cameras and video transmitters work only with 5 volts. If yours do so, then on the flight controller connect power for the camera and vtx using the appropiate pins on the board. | 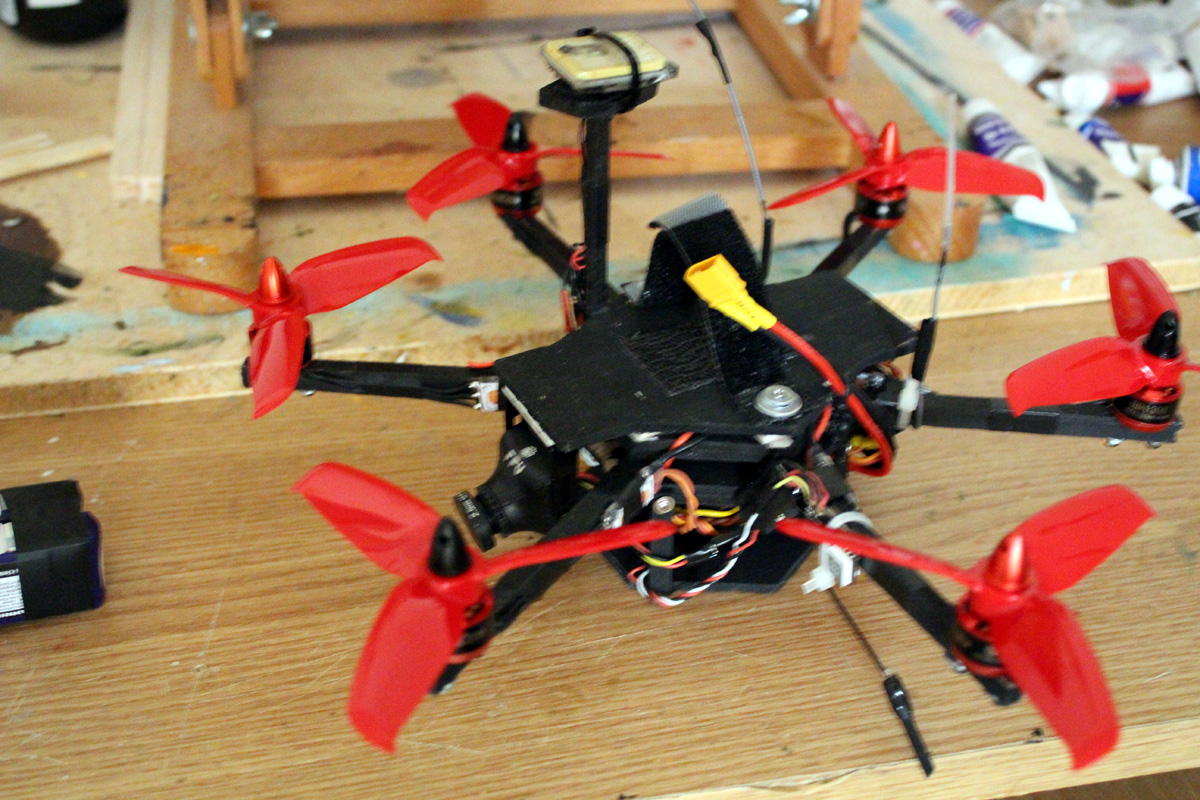 32. Well, you are pretty much done. | |